Broadcast Radio Blog

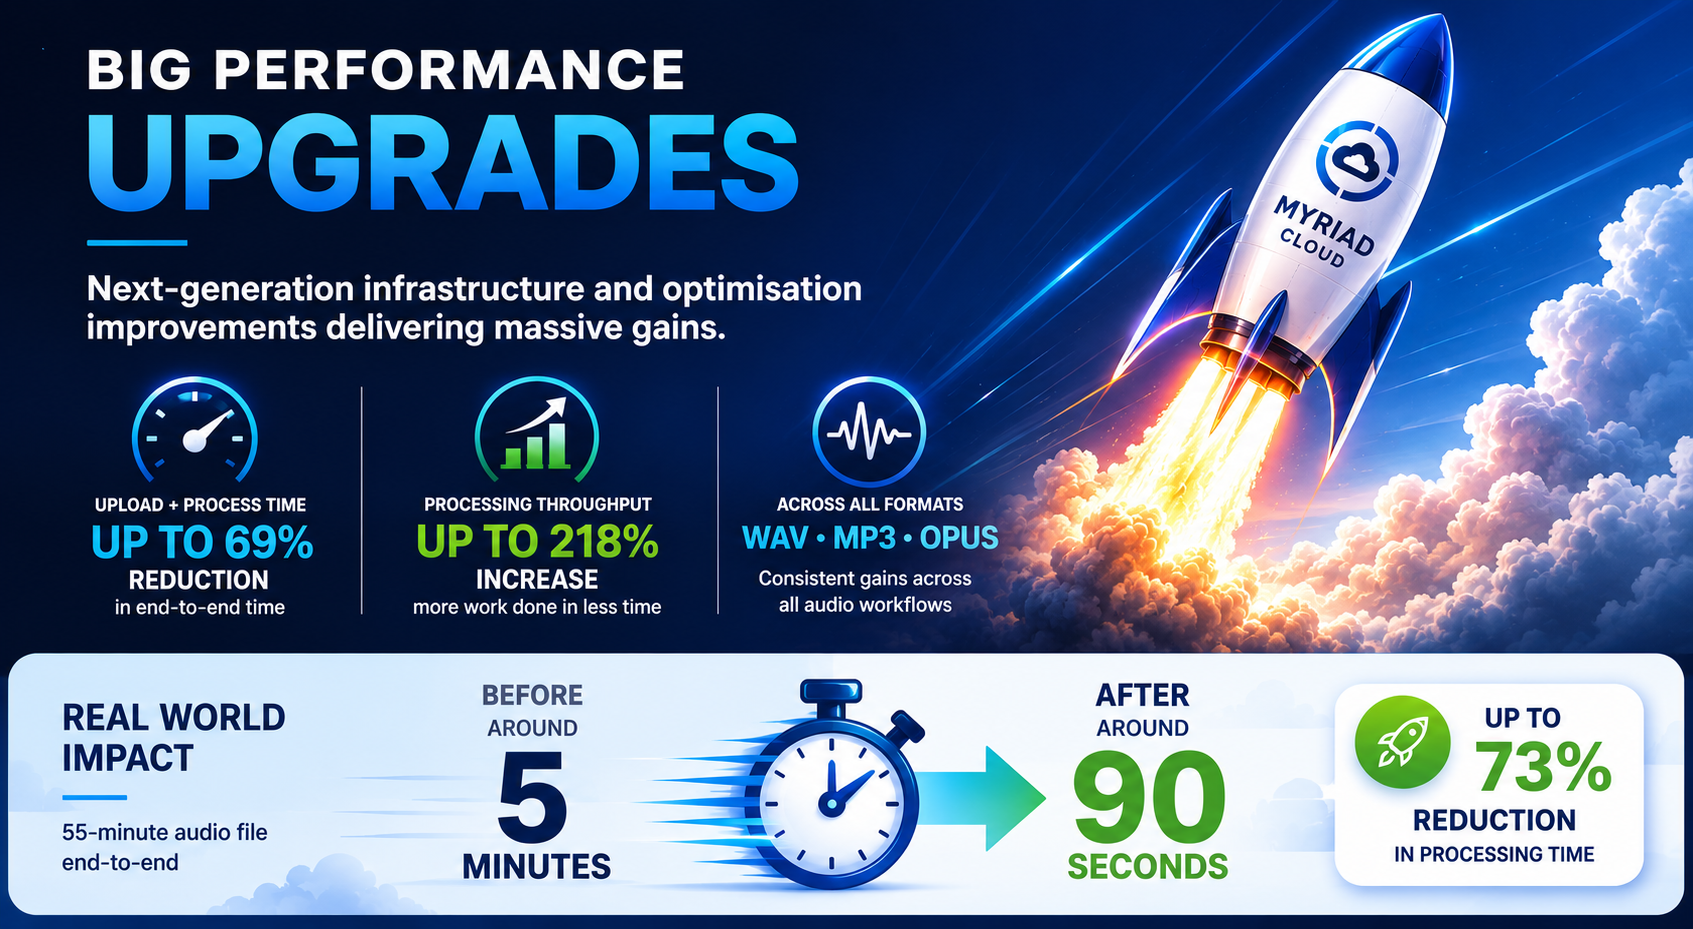
Learn about the 218% throughput boost in Myriad Cloud for radio stations. Upgrade now for enhanced audio processing capabilities.
Learn how to choose the best radio broadcast software. Get expert insights on features & reliability. Contact us for more information!
Phase 1 of Myriad Cloud Playout ends, paving the way for enhanced cloud services. Transition to Myriad Cloud Dedicated or Native today!
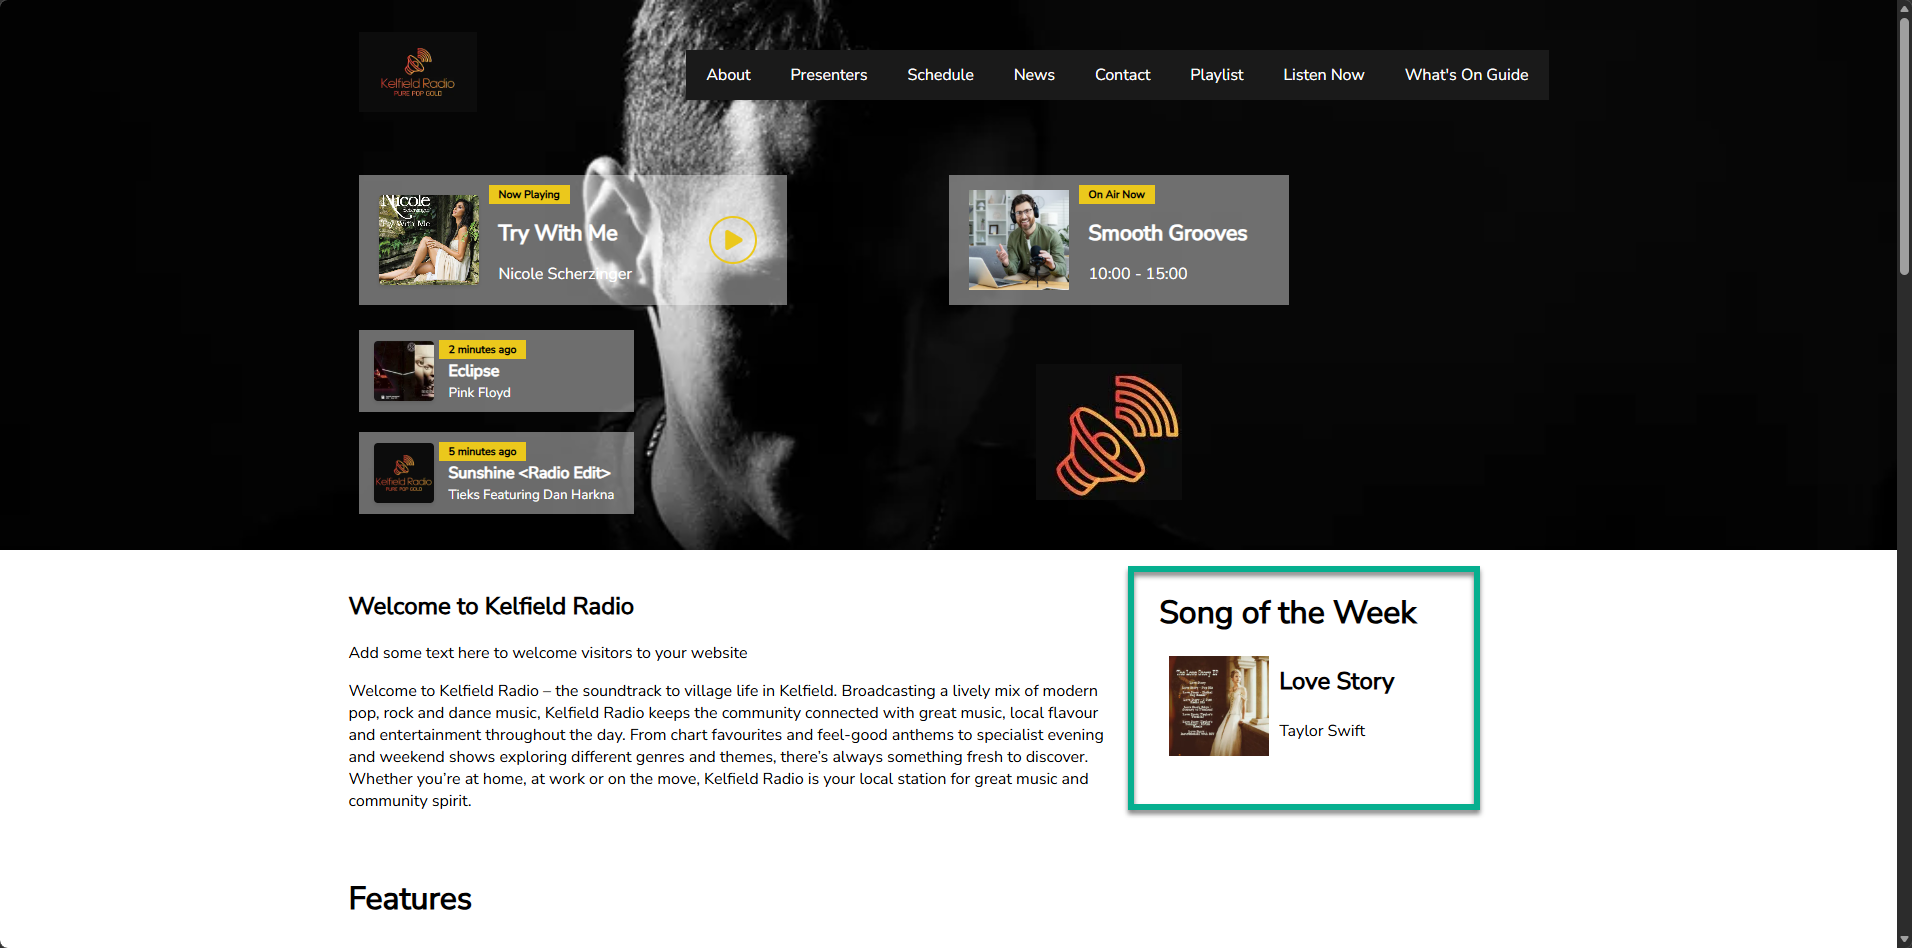
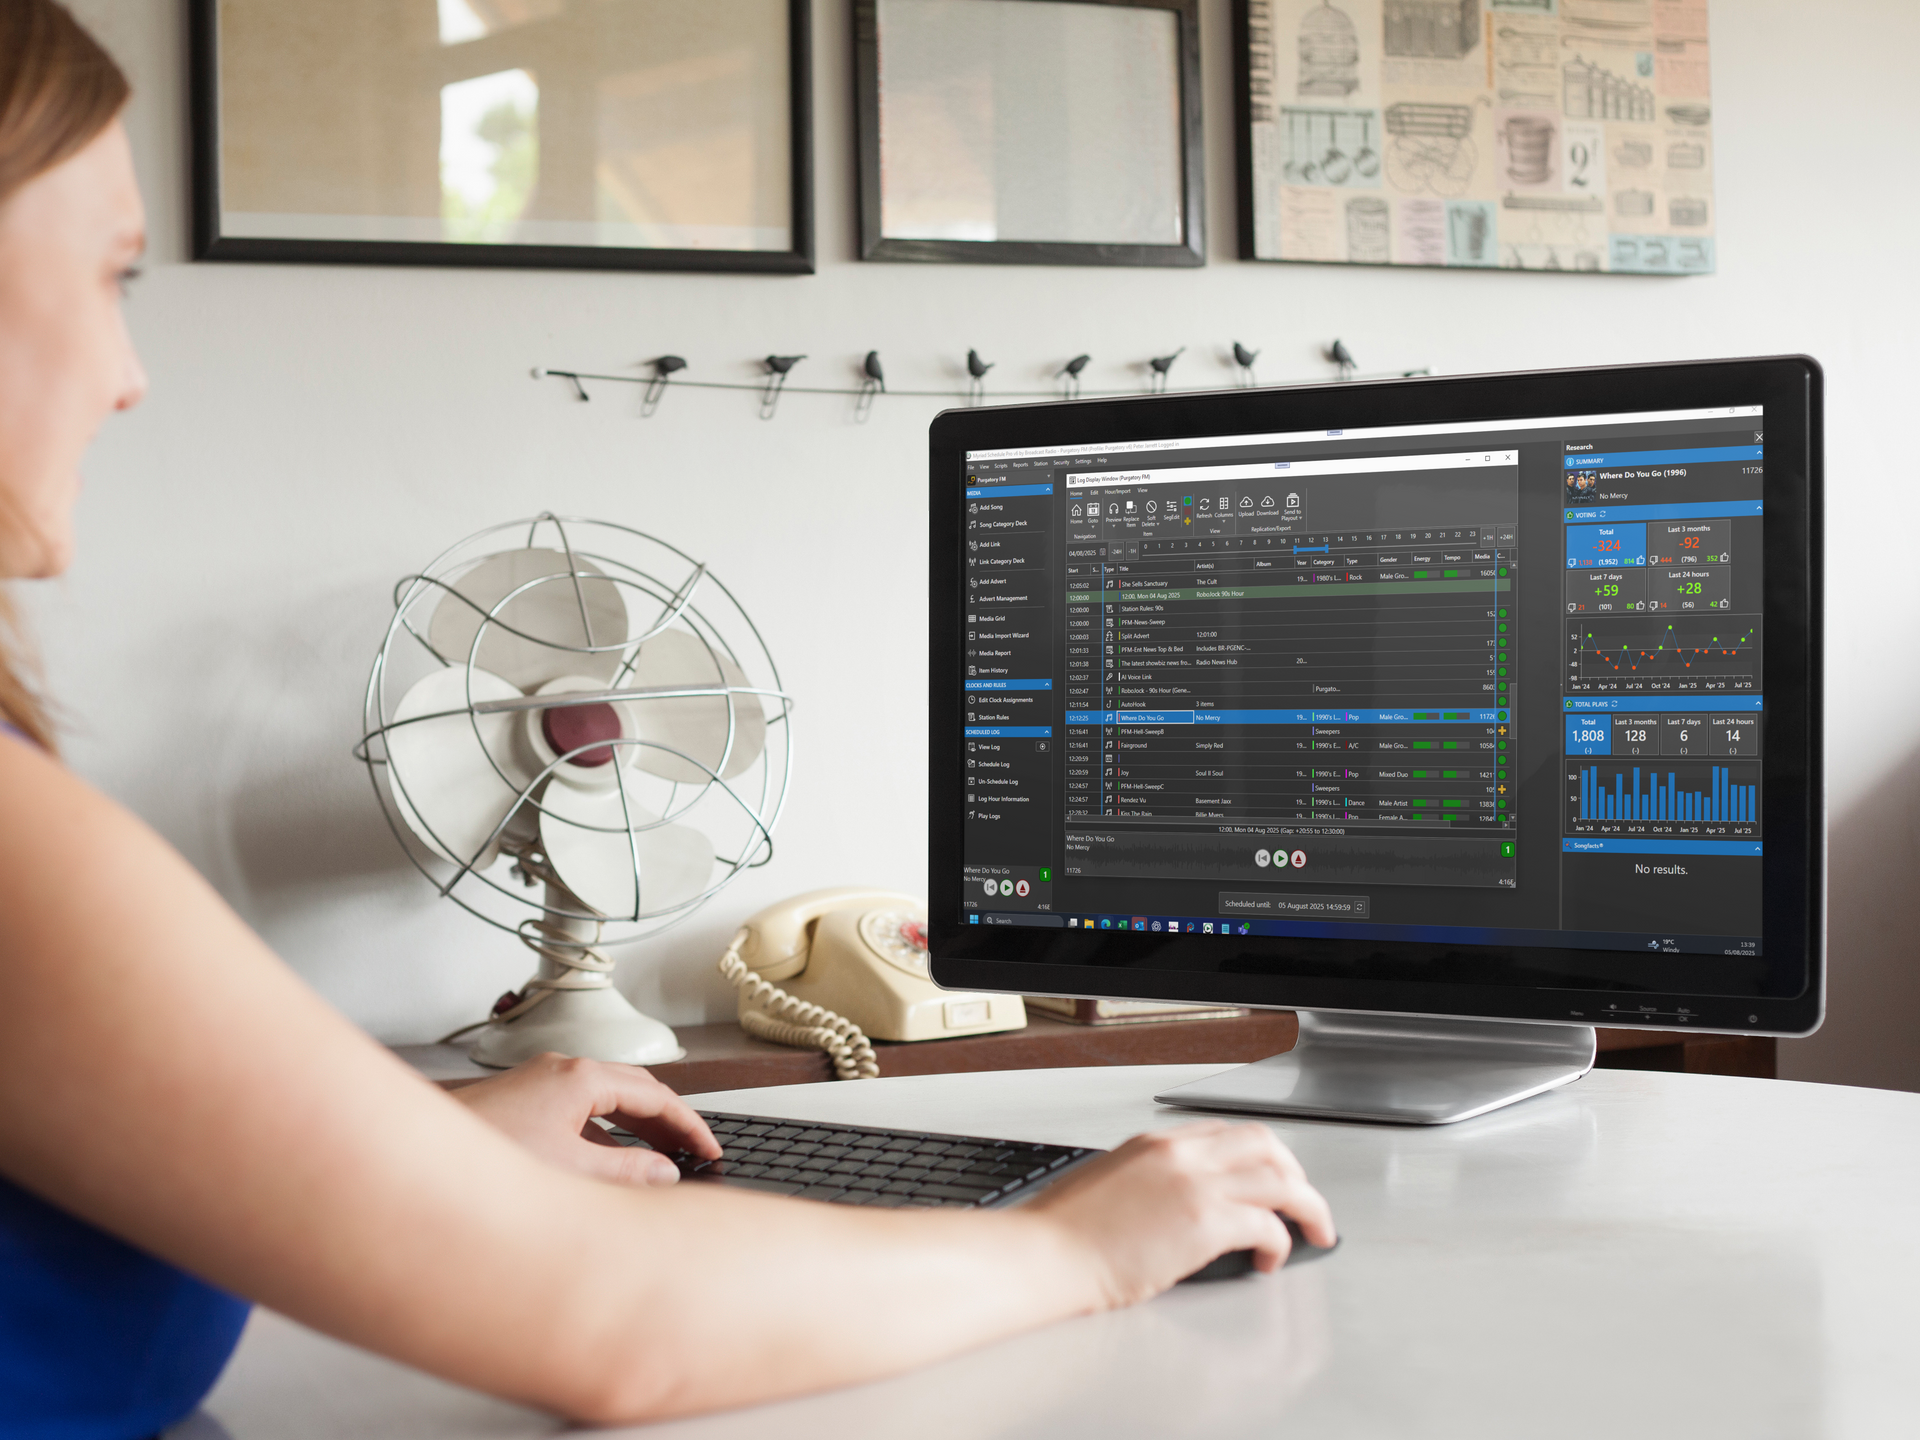
Automate your 'Featured Song of the Week' with Myriad Schedule Pro. Streamline your music rotation today!
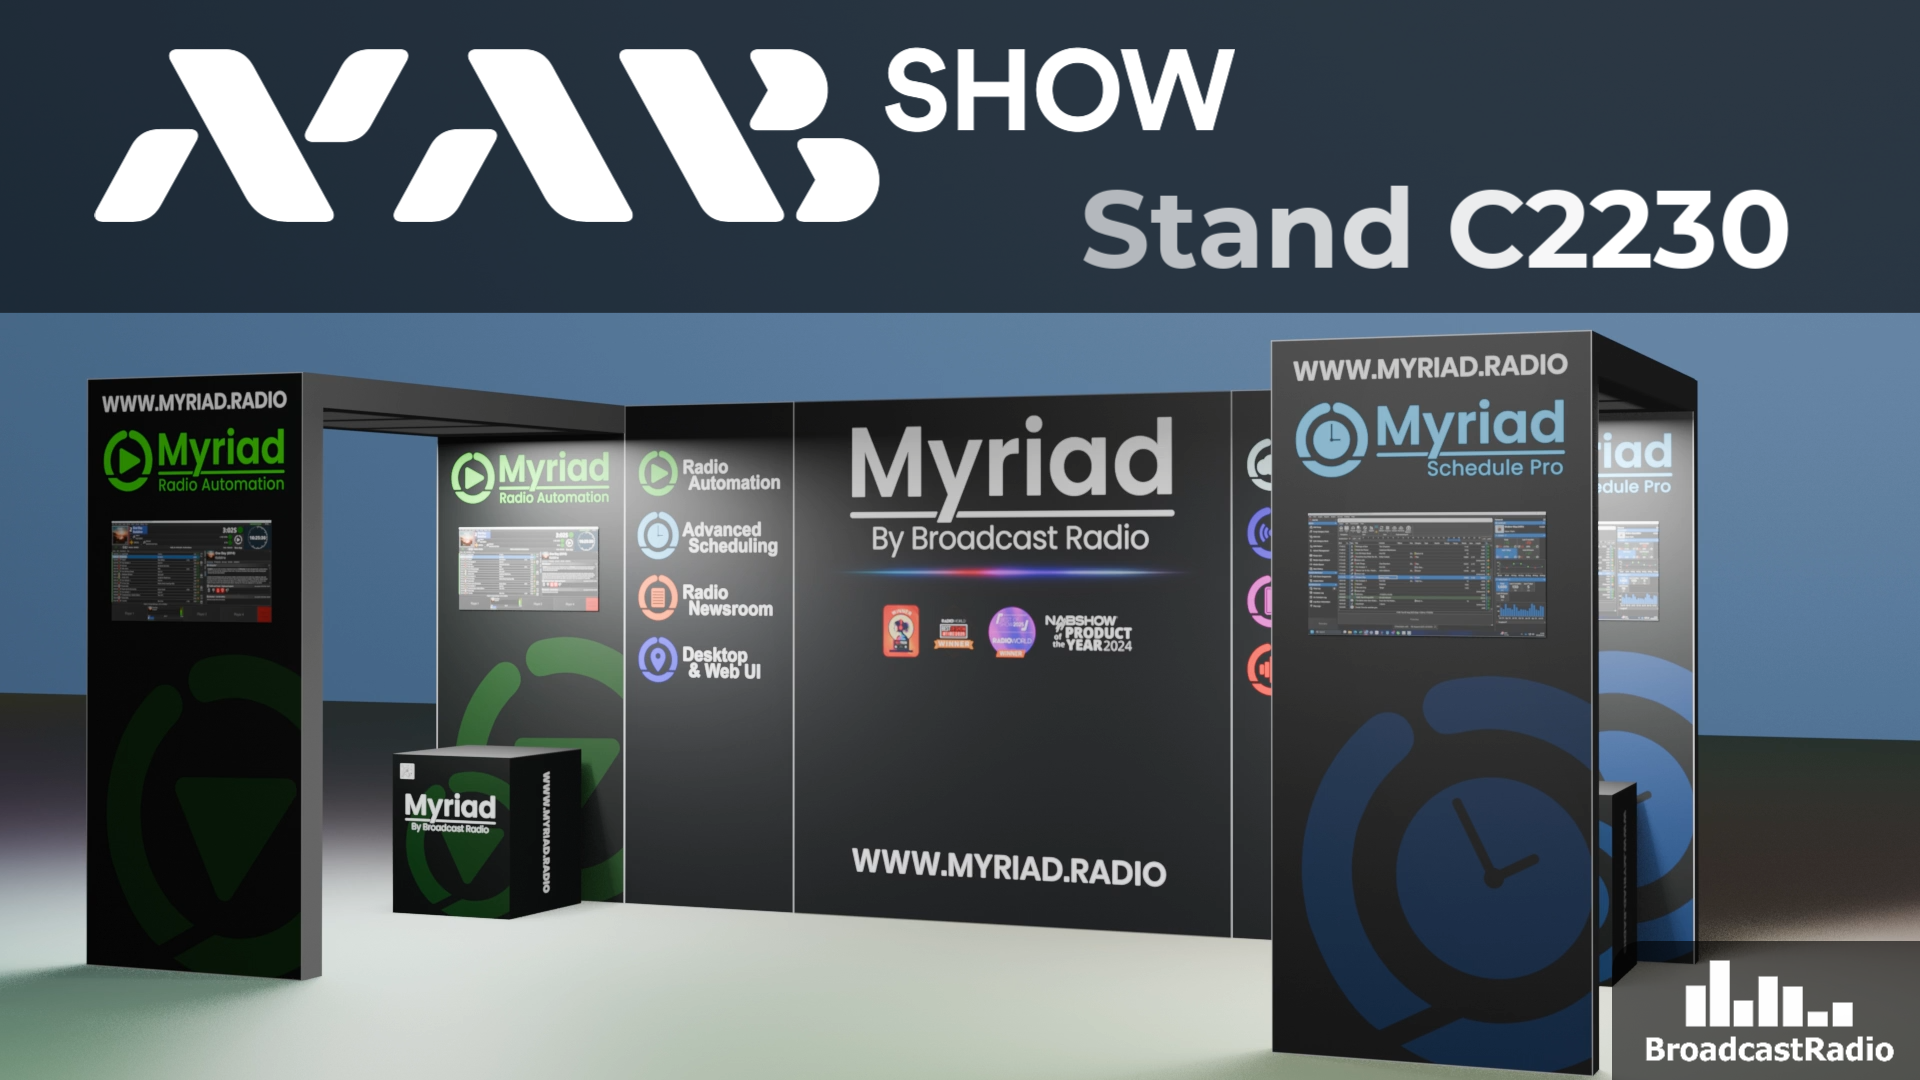
Join Broadcast Radio at NAB Show 2026! Explore innovative radio automation & cloud solutions. Visit us at Booth C2230.
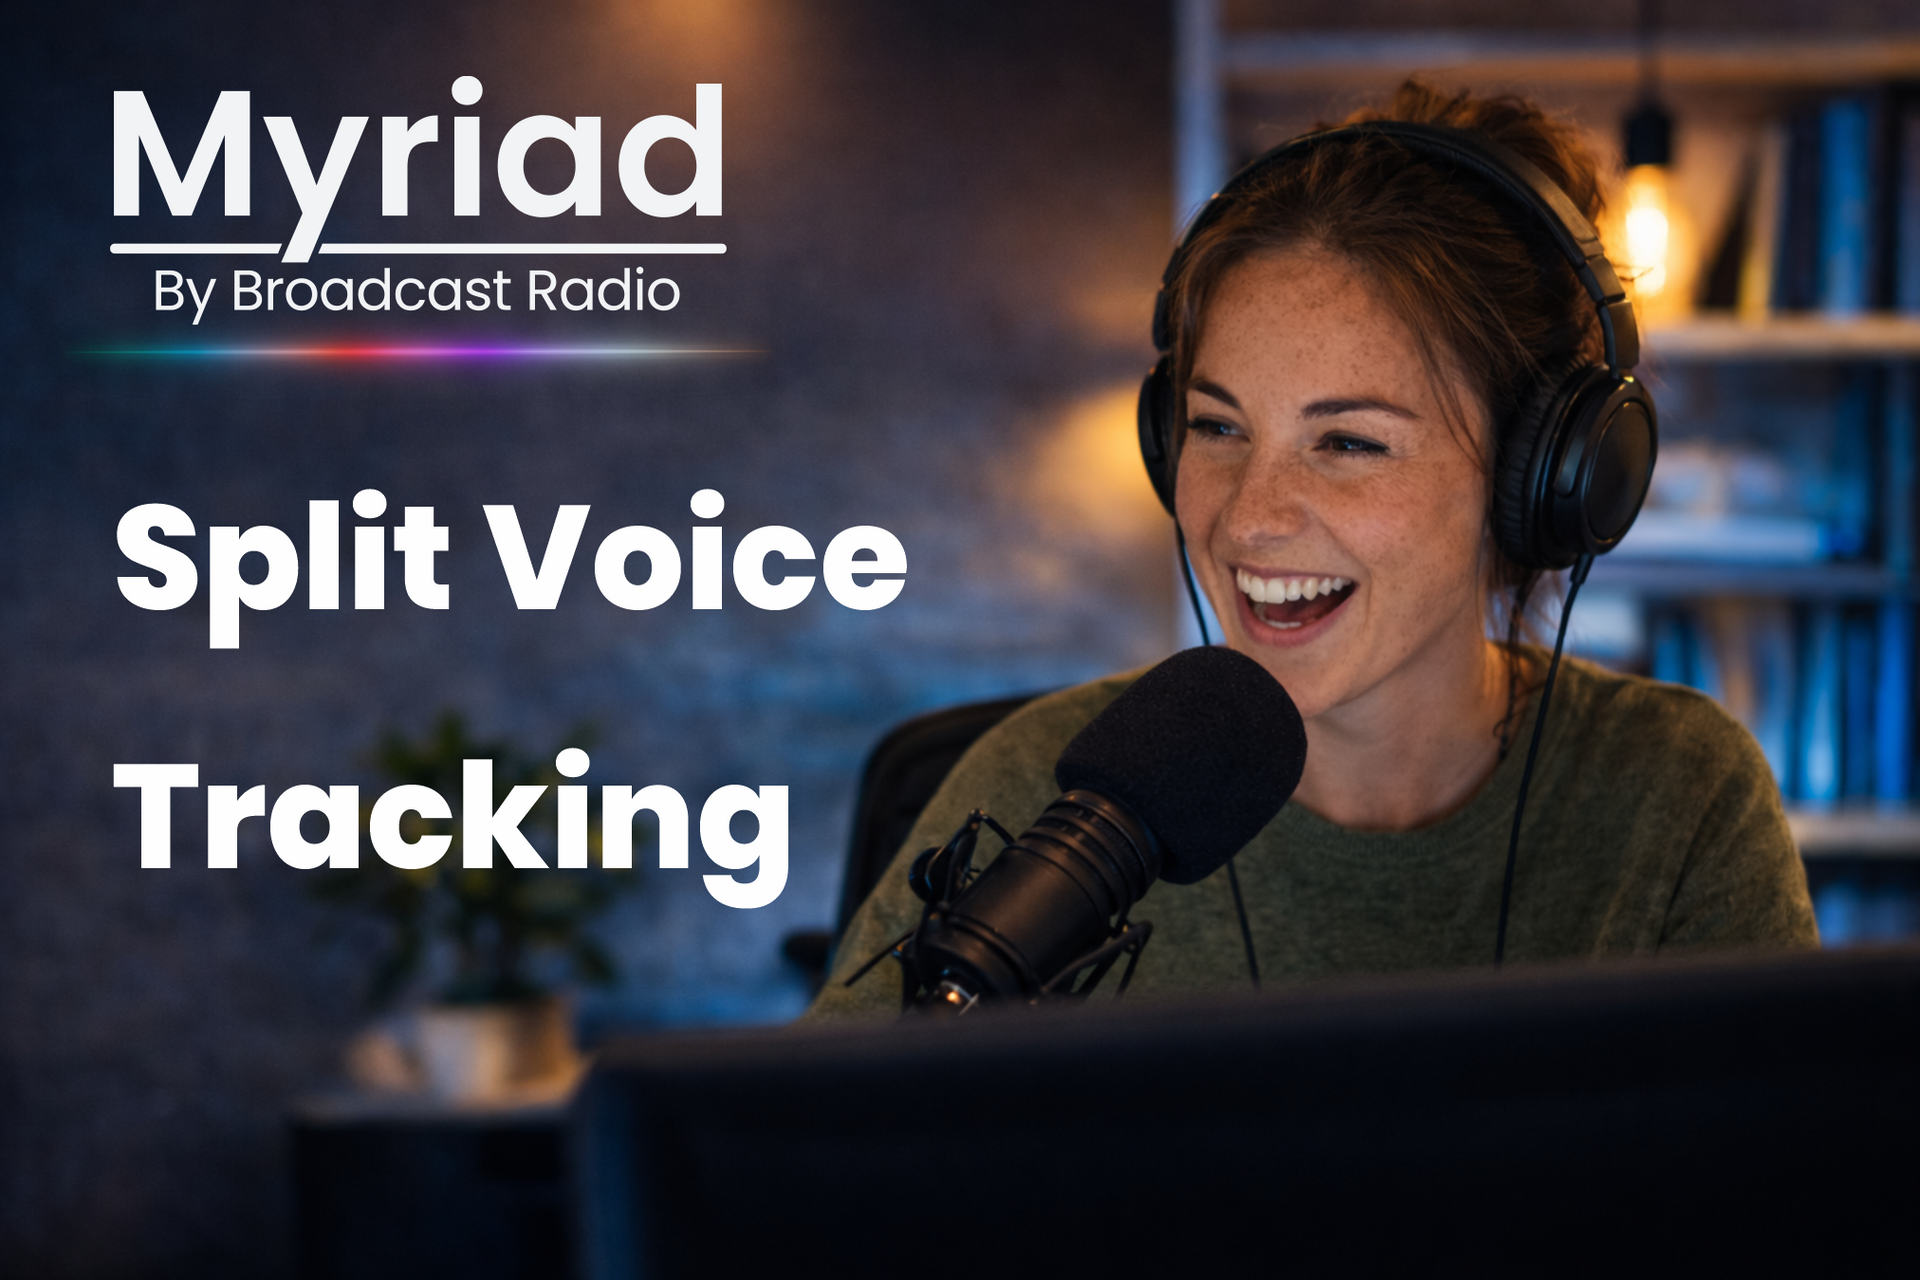
Learn how Split Voice Tracking enhances localized radio broadcasting. Improve community connections with personalized content today!
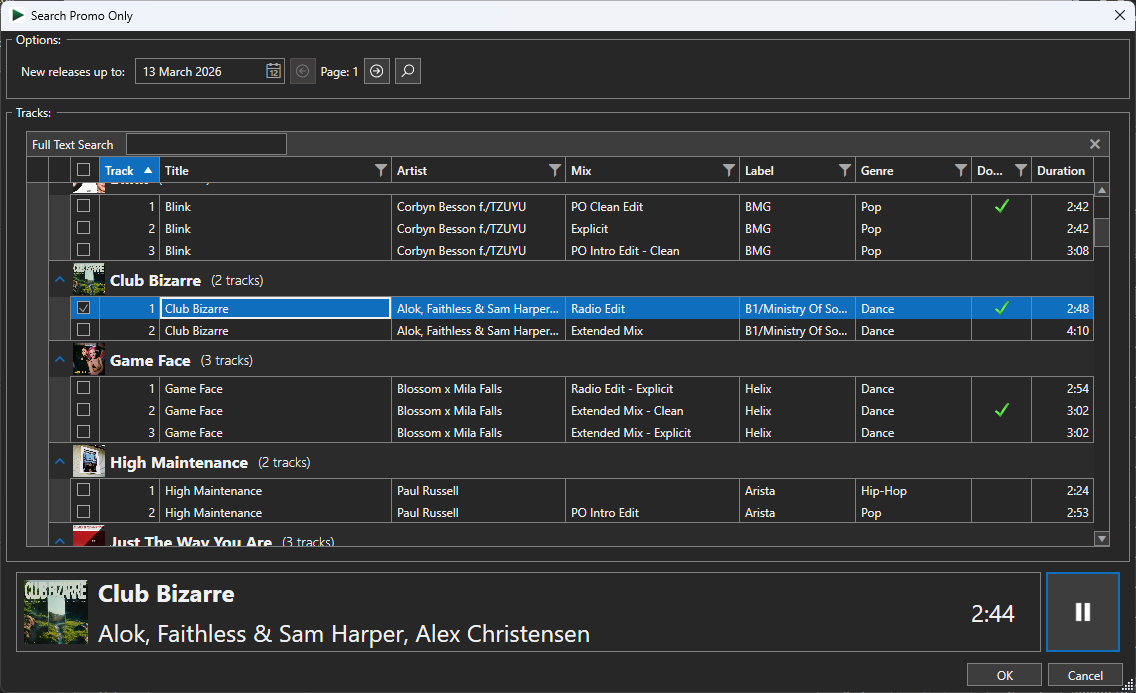
Streamline music management with Promo Only integration in Myriad. Enjoy automated processing & accurate metadata for professional broadcasting.
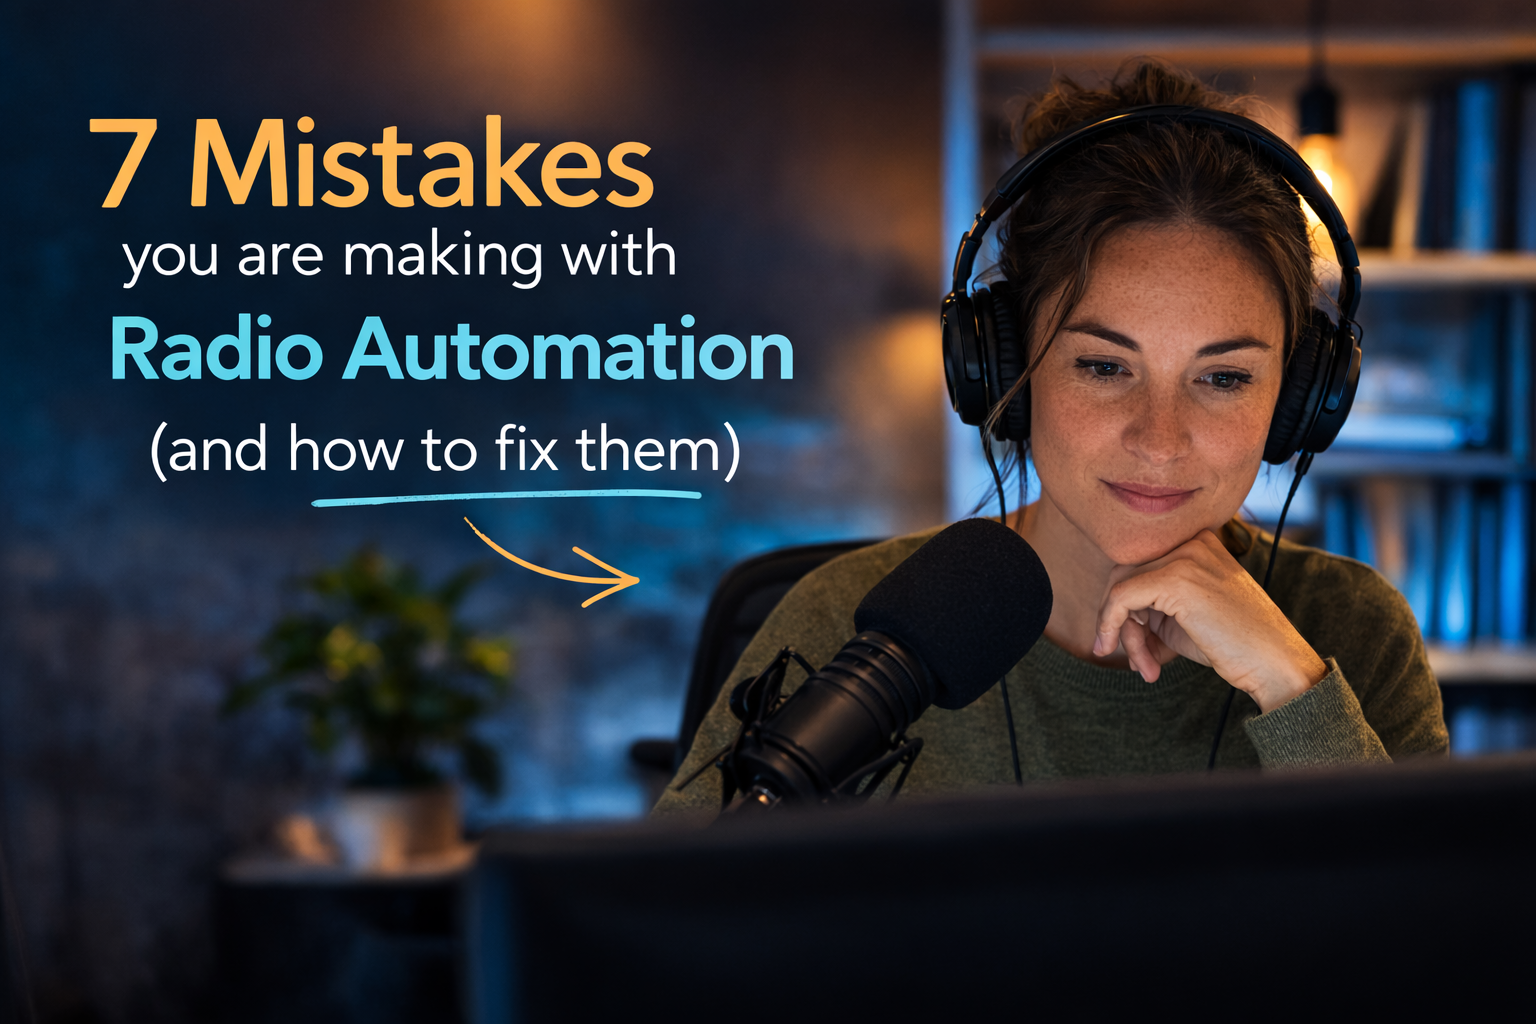
Avoid common mistakes in radio automation. Learn how Myriad can enhance your broadcasts today!
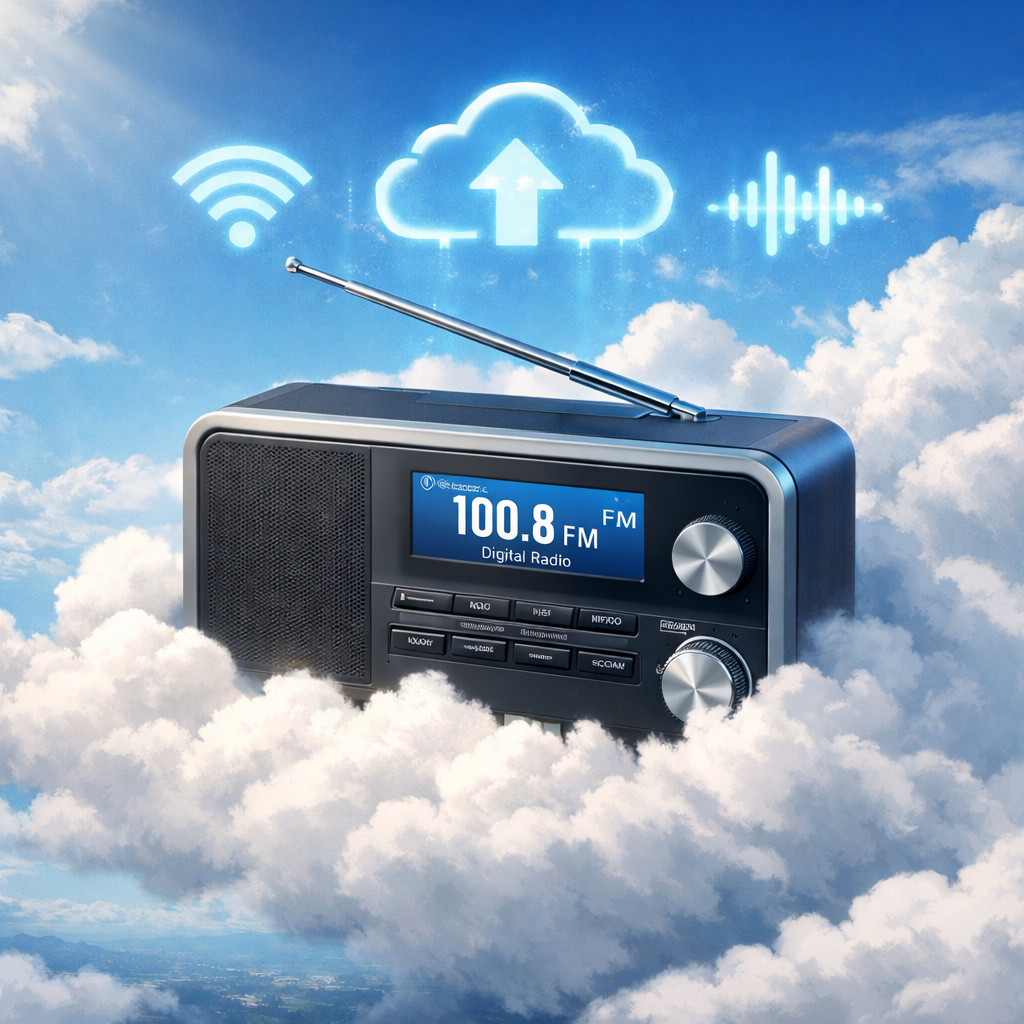
78% of broadcasters are shifting to cloud-native solutions. Learn how to modernize your station with our software & services.
Learn about the 218% throughput boost in Myriad Cloud for radio stations. Upgrade now for enhanced audio processing capabilities.
Learn how to choose the best radio broadcast software. Get expert insights on features & reliability. Contact us for more information!
Phase 1 of Myriad Cloud Playout ends, paving the way for enhanced cloud services. Transition to Myriad Cloud Dedicated or Native today!
Automate your 'Featured Song of the Week' with Myriad Schedule Pro. Streamline your music rotation today!