Building The StreamBox
Liam Burke • June 18, 2018
From Side Project To Final Product
Like SmartSign before it, our new StreamBox started out life as a 'Friday afternoon' project to investigate a low cost and reliable way of encoding audio and sending it to web streaming hosts such as our Broadcast Player
service.
There are of course many options available but the broadly fall into two categories:
- Software Solutions
- Hardware Devices
Hardware devices provide a good alternative as they usually do not usually require any type of user interaction to do their job. The downside is that some hardware solutions can expensive.
The challenge was whether we could come up with a hardware device that would avoid the potential pitfalls of a software solution, but in a format and a cost point that would make it accessible to as many broadcasters as possible.
Having worked with the Raspberry Pi for SmartSign Lite, we were confident that this would provide the processing power needed to run a hardware encoder at a reasonable cost but that left some serious issues to overcome.
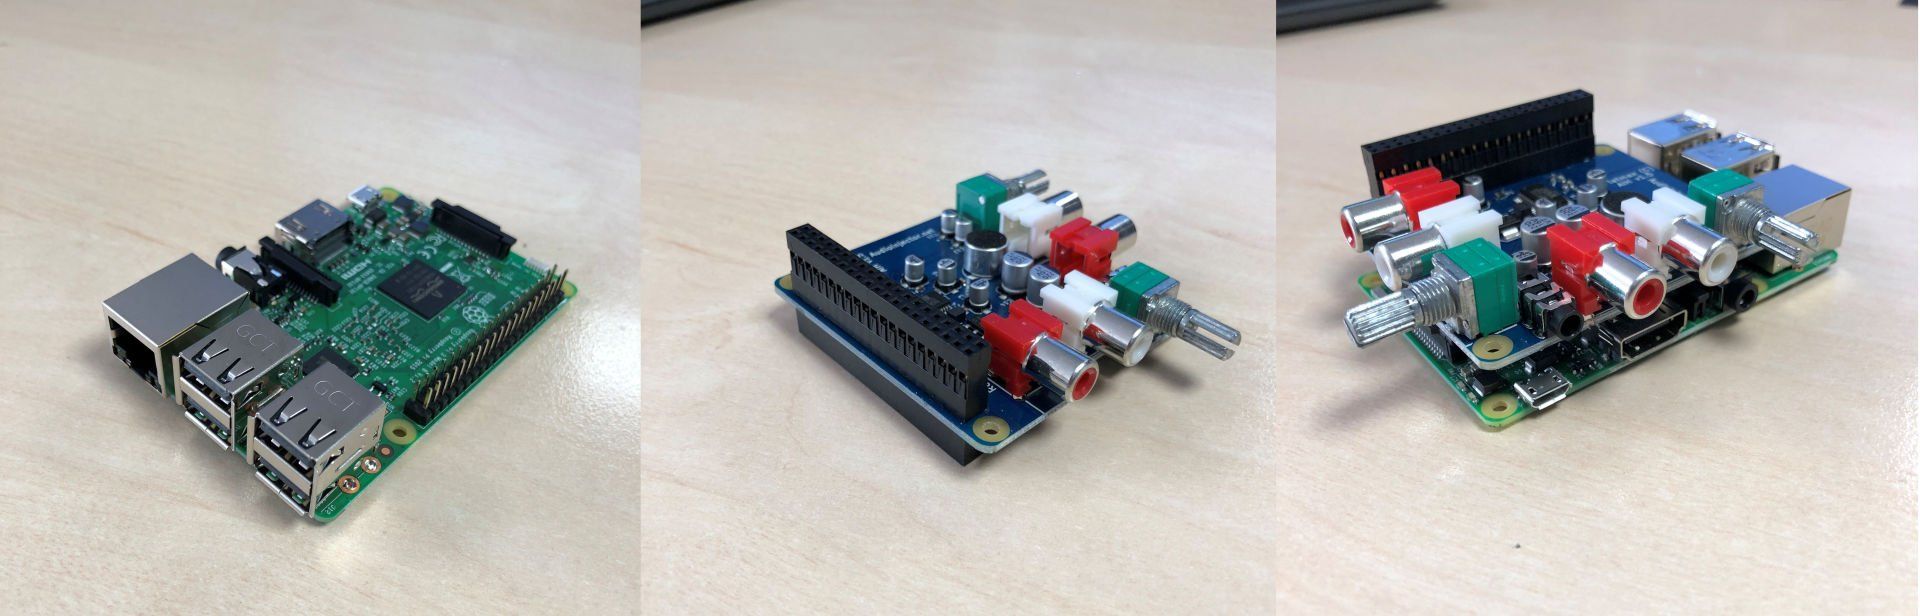
- Sound Input: The built in sound device in a stock Raspberry Pi is not really up to the task. The Pi is primarily intended to be used with an HDMI screen which will often include speakers. When using HDMI, the sound is sent digitally to the screen and it is the screen that decodes the audio. The built in audio chip on the Pi is not great quality and whilst it does have a 'microphone input' it is only accessible using a combined 4 pole mini jack which is a very unusual connector in radio. You could use an external USB sound device but this introduces a potential point of failure (the USB cable connecting them) and would not be a simple solution. Instead we sourced specialist sound device 'hat' for the Pi which offers high quality audio input and outputs as well as physical volume controls for both (and on common phono connectors). Solving the audio issue unfortunately led directly to the second issue.
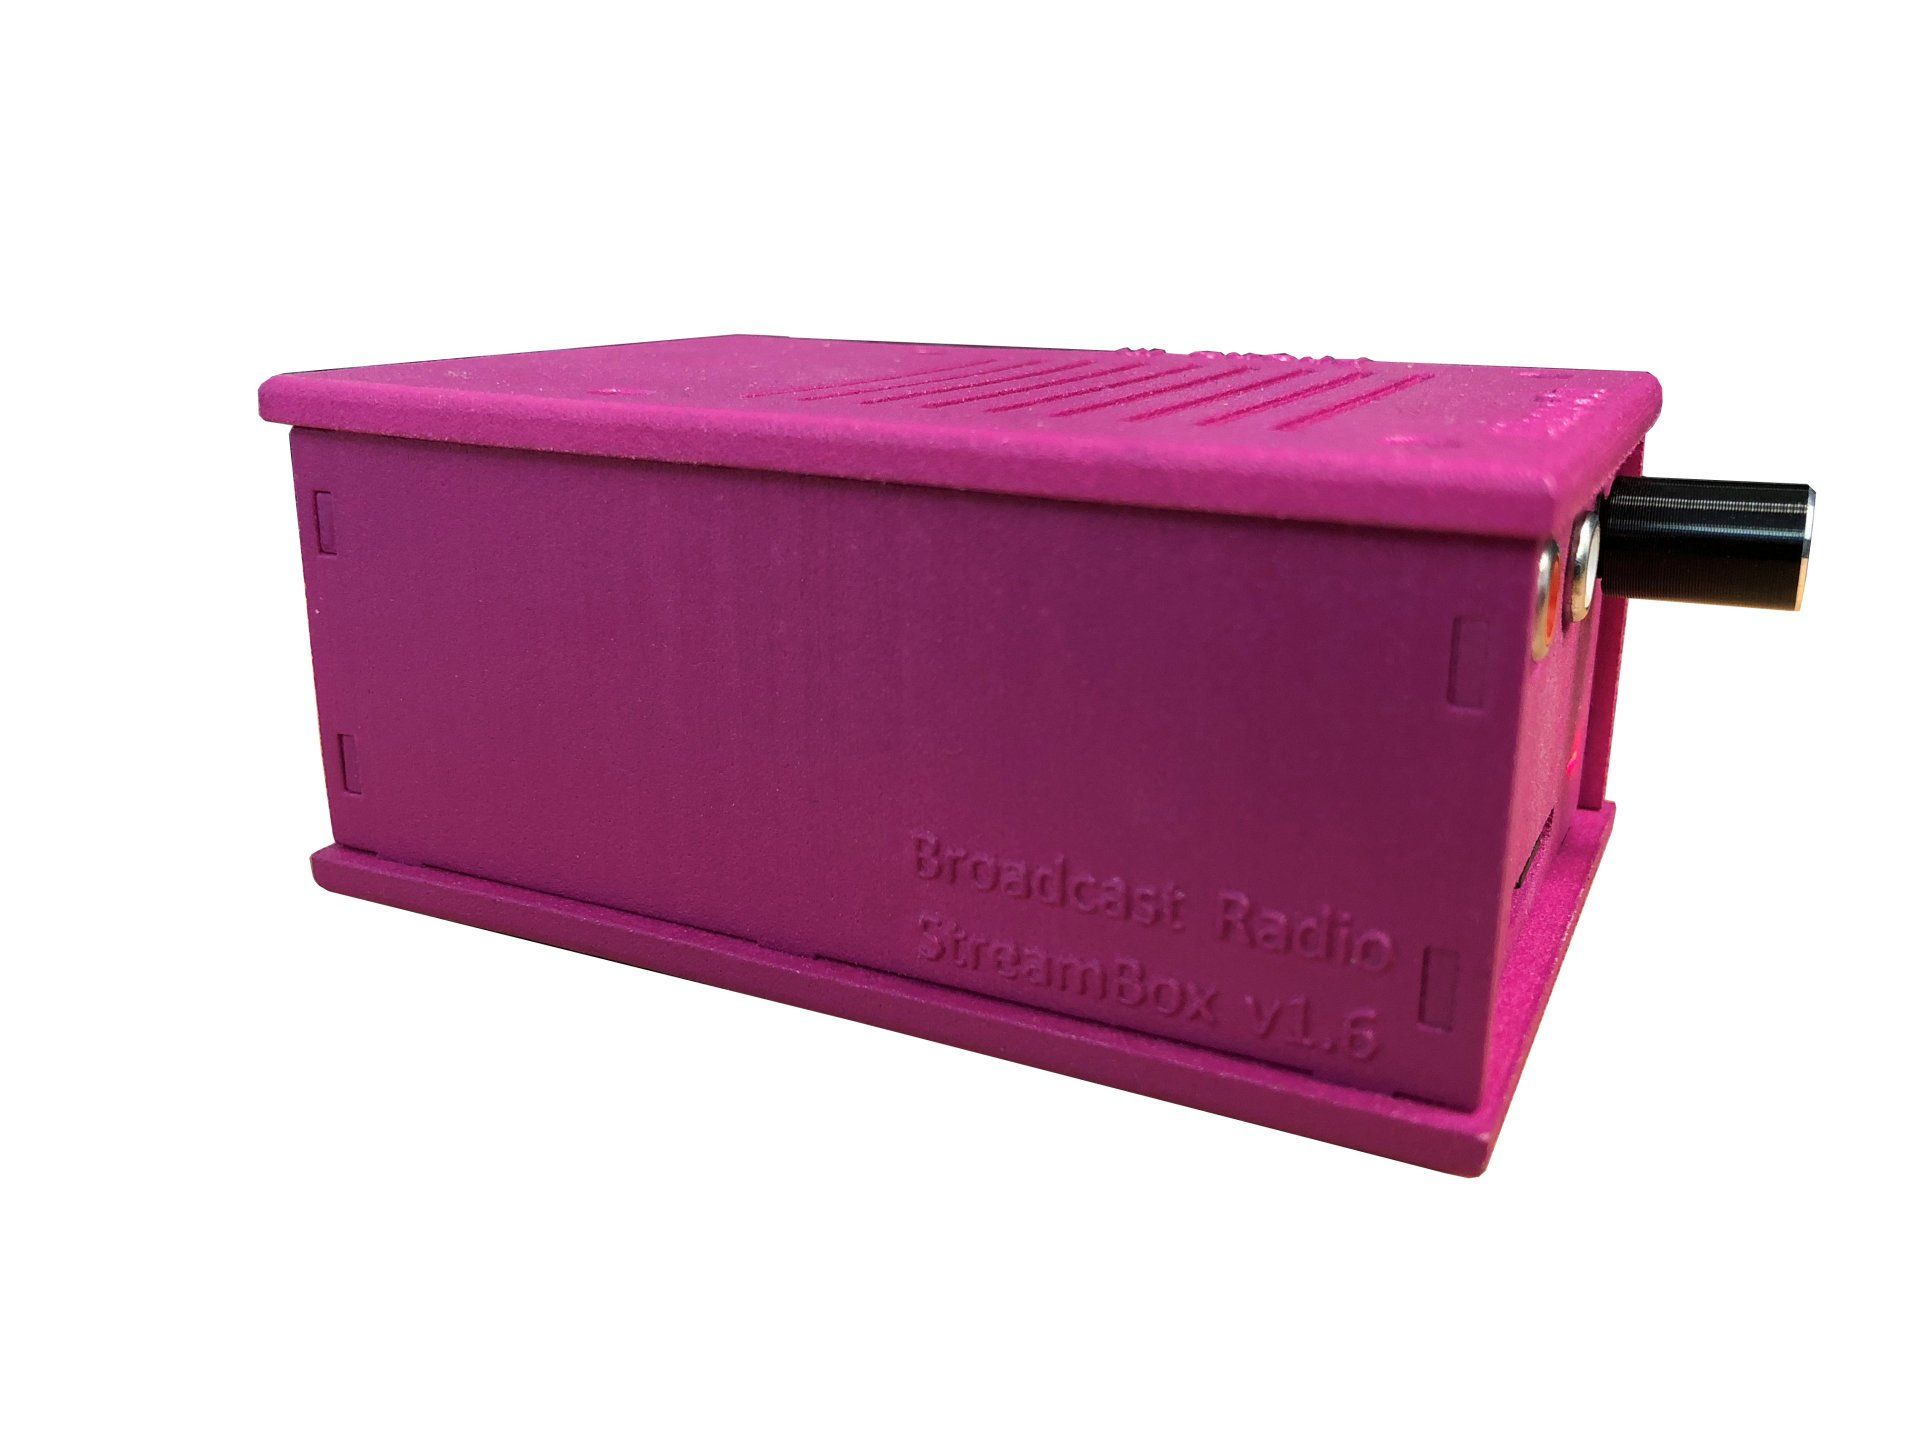
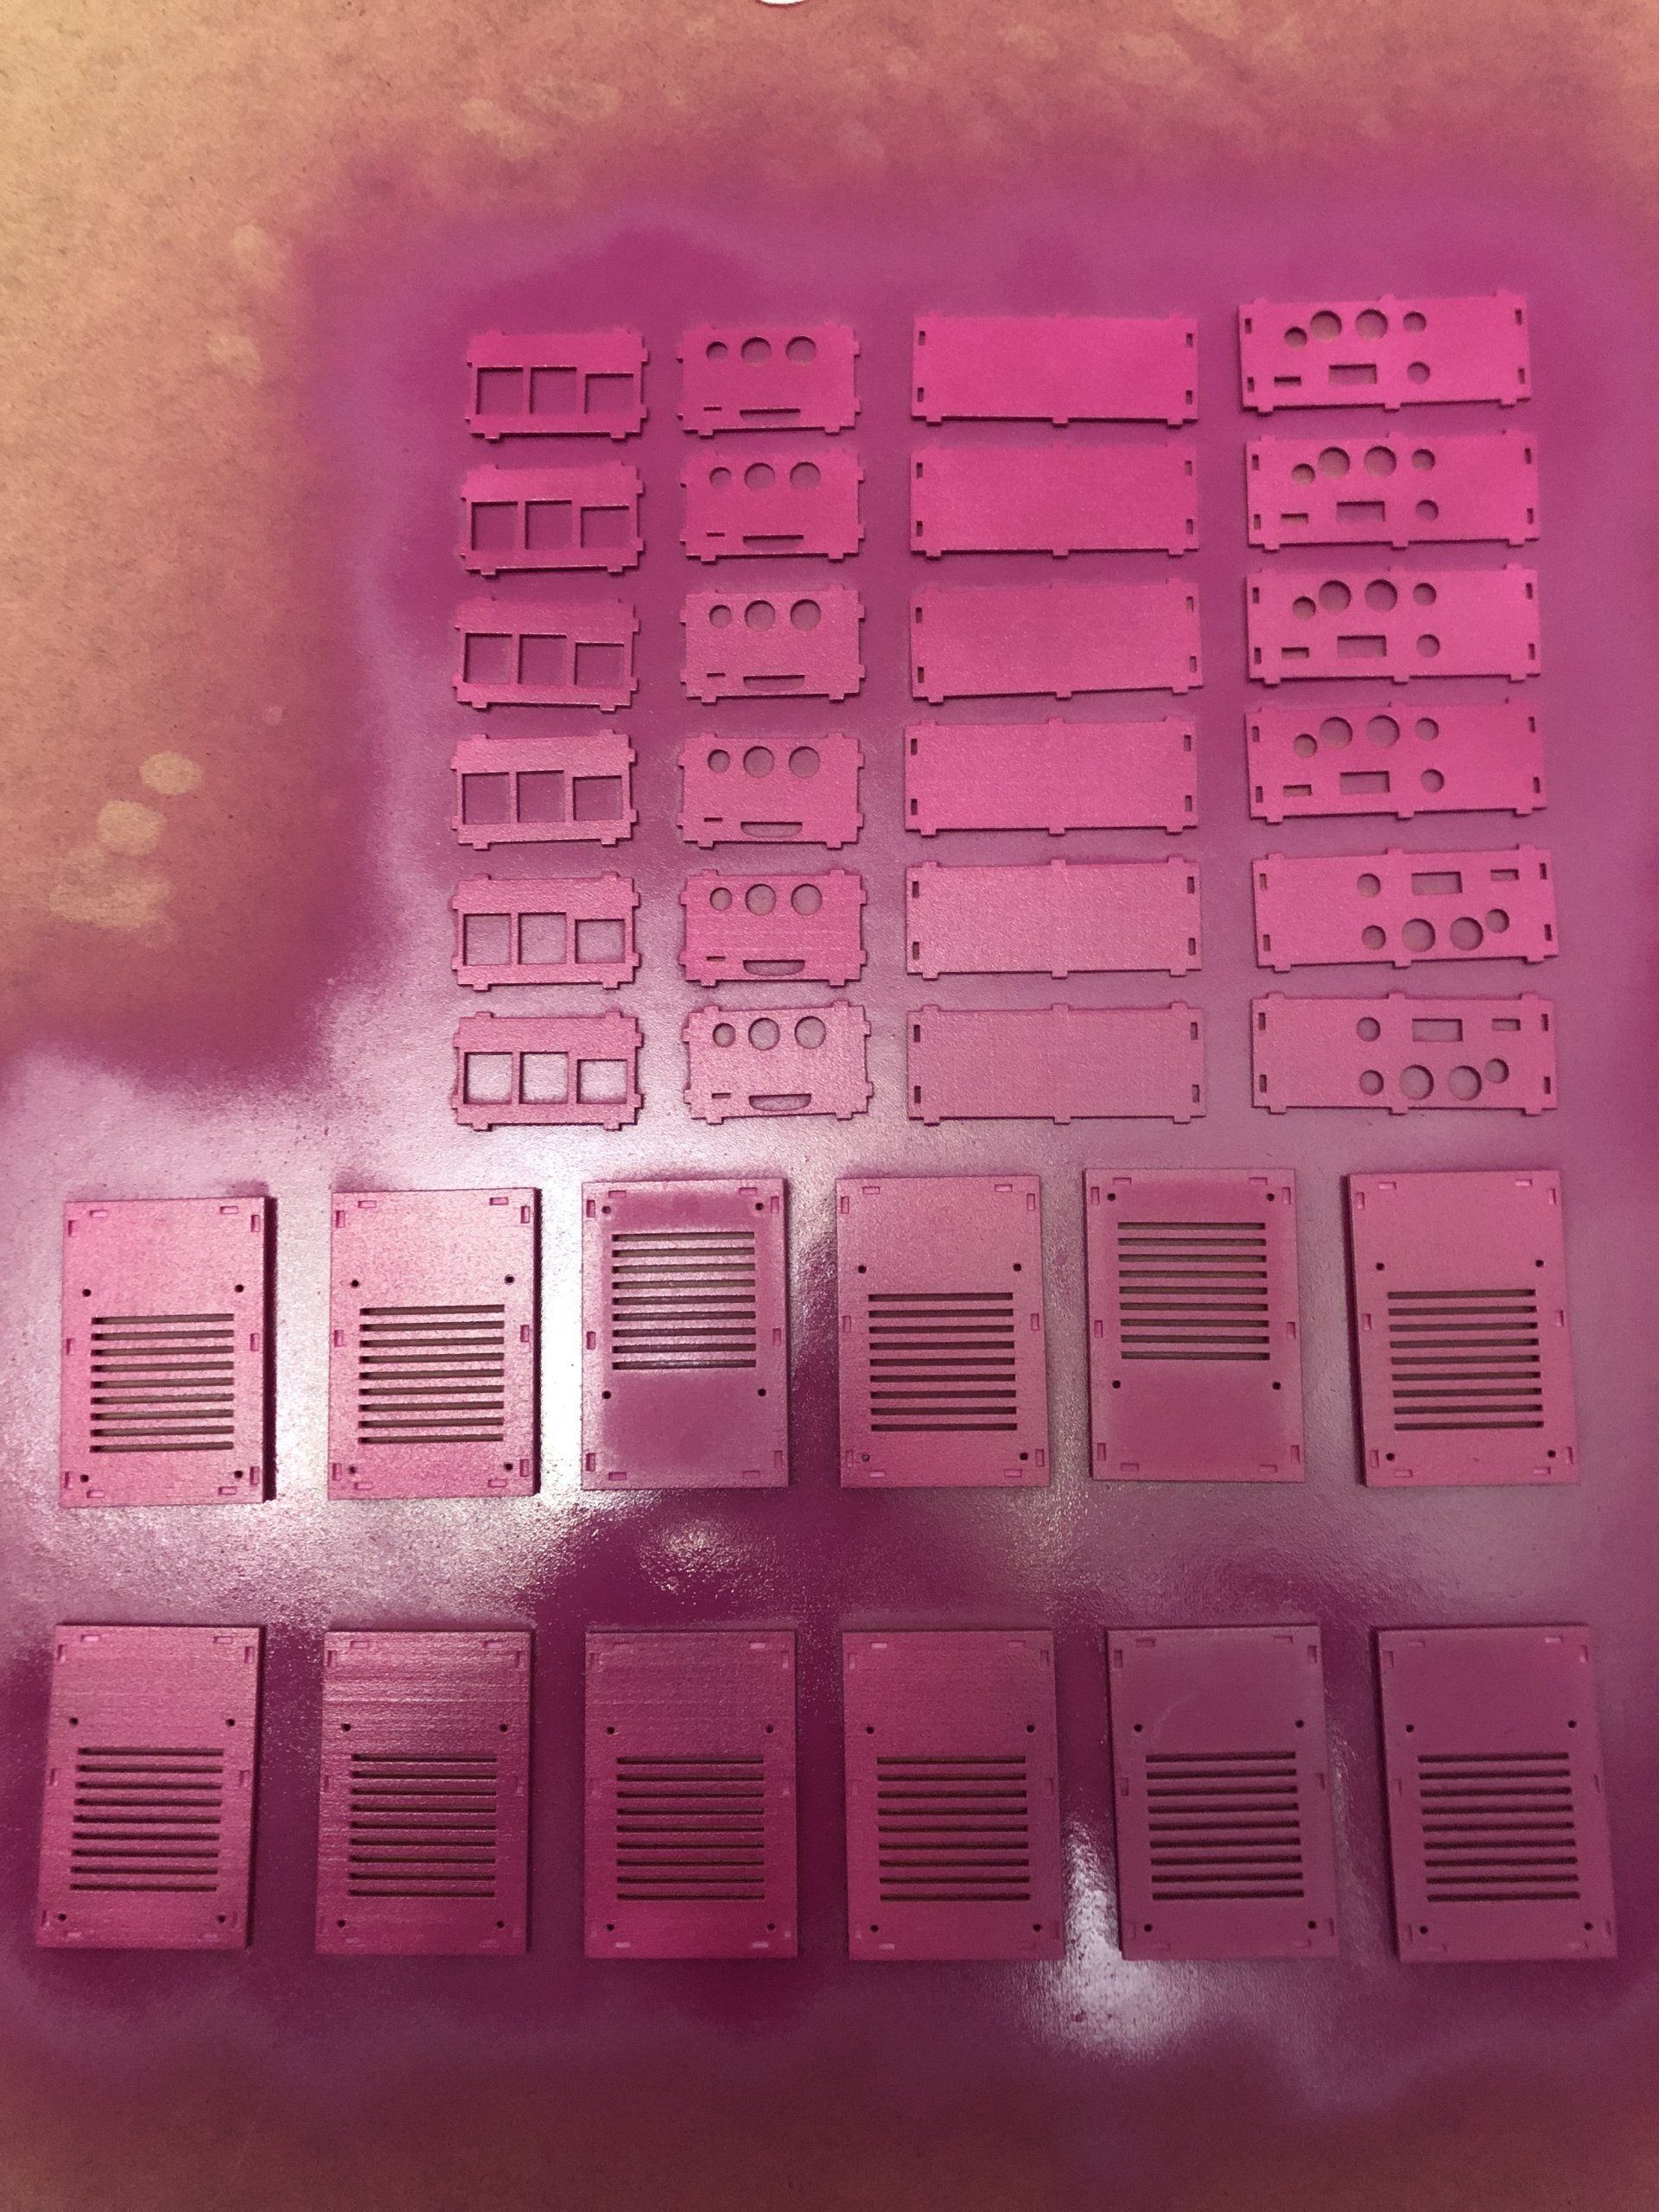
- Enclosure: As you can see from the pictures above, the addition of the external sound device changes the size and shape of the Pi dramatically such that no 'off the shelf' Raspberry Pi enclosures would work. But we wanted to device that was simple to use and friendly to the end user. We also wanted to keep the price a s low as possible so fitting everything into a rack case and then extending all the connections out to external sockets was also not viable because of the martial and labour impact on the end cost. The answer was to custom design an enclosure that would incorporate all of necessary connections. Once the design was finalised, we decided that we would have them 3D printed to allow us to do smaller production runs and tweak the design if needed. To reduce 3D printing costs, enclosure was designed as a series of flat panels that fit together like a jigsaw to create the full case. Early models were printed in white and then sprayed purple but later versions had the colour added at time of print.
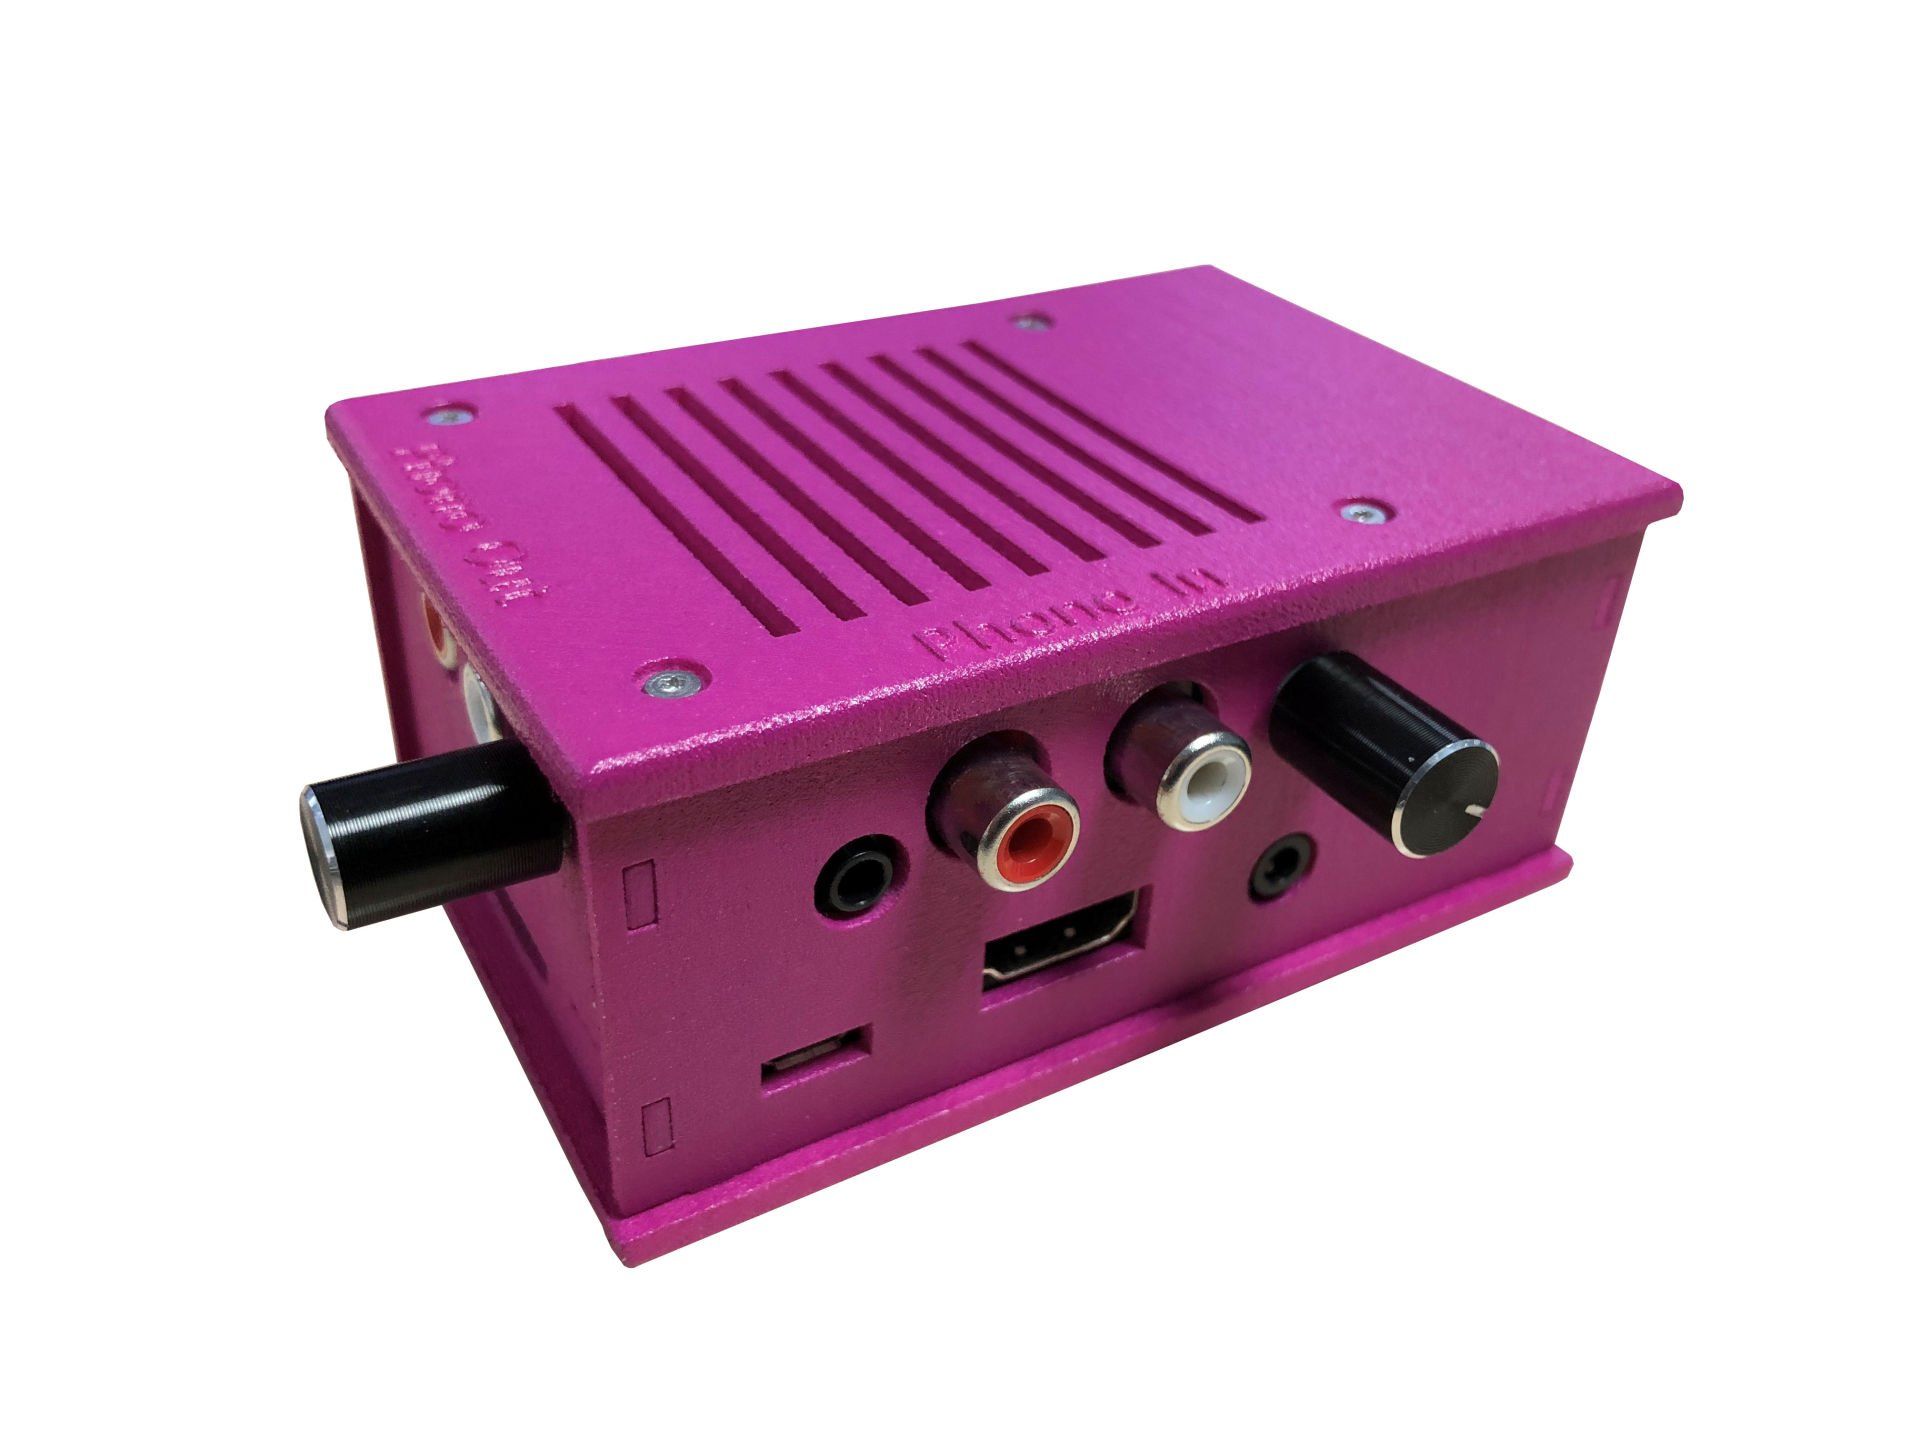
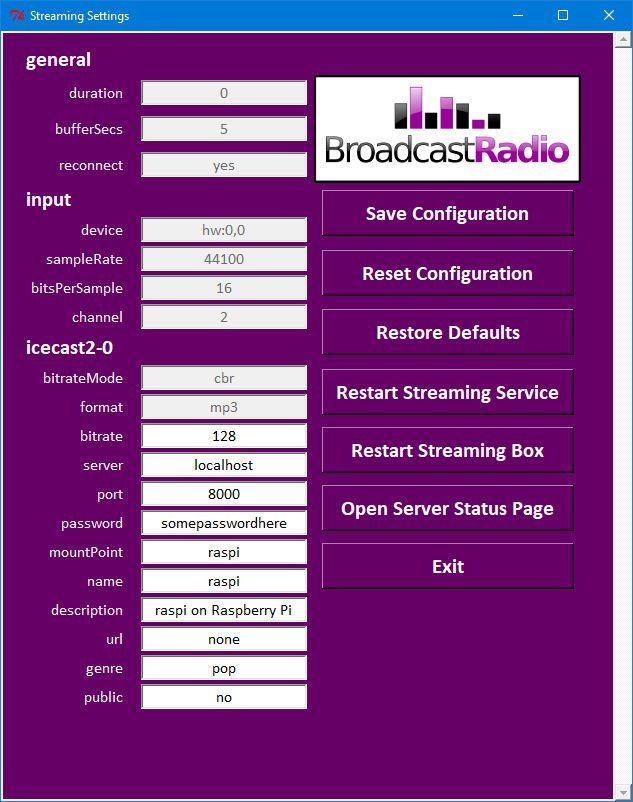
- Software: Once all of the physical challenges were addressed, we were able get back to our comfort zone and turn our attention to the software needed to make it all work. The StreamBox run a Linux core with all the necessary streaming services set to automatically start which means once it is configured, you can simply plug it in and it will start encoding and sending the stream to your service provider. We wanted the system to be as easy to setup as possible so our team developed a simple user interface for configuring the StreamBox and checking status as required. If you plug in a monitor, keyboard and mouse, you will see the StreamBox interface which allows you to alter the steam quality and format as well as add in your providers connection details.
So there you have it.
A simple 'Friday afternoon' project turned into a viable, cost effective solution. Full credit goes to John-Michael Sugden who has handled just about every element of this project.
The StreamBoox is available now, check our the StreamBox webpage
for more details.
Learn about the 218% throughput boost in Myriad Cloud for radio stations. Upgrade now for enhanced audio processing capabilities.
Learn how to choose the best radio broadcast software. Get expert insights on features & reliability. Contact us for more information!
Phase 1 of Myriad Cloud Playout ends, paving the way for enhanced cloud services. Transition to Myriad Cloud Dedicated or Native today!
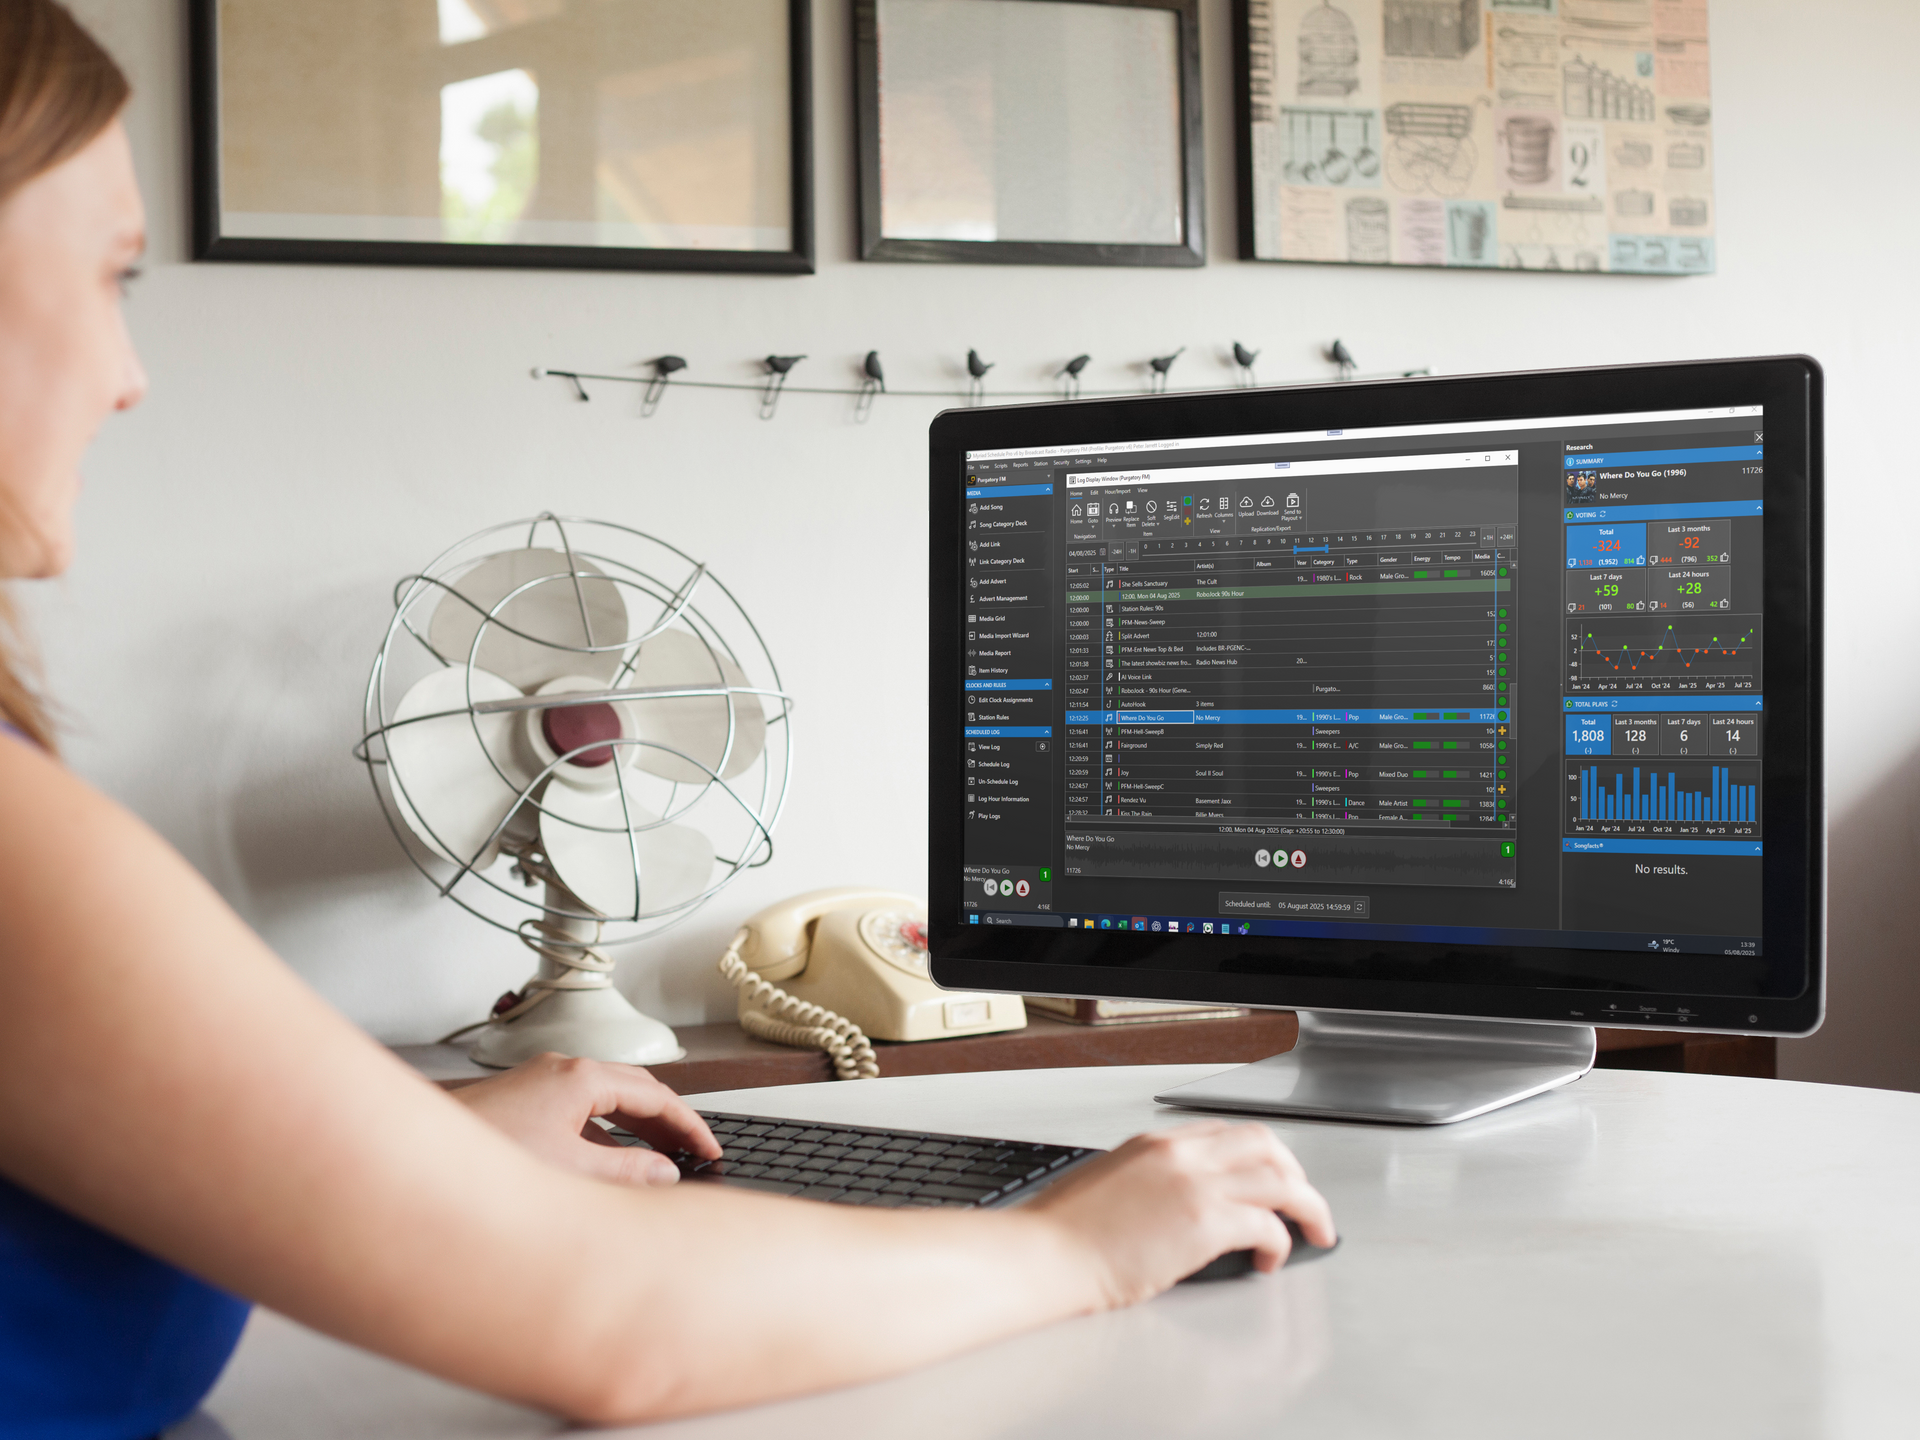
Automate your 'Featured Song of the Week' with Myriad Schedule Pro. Streamline your music rotation today!
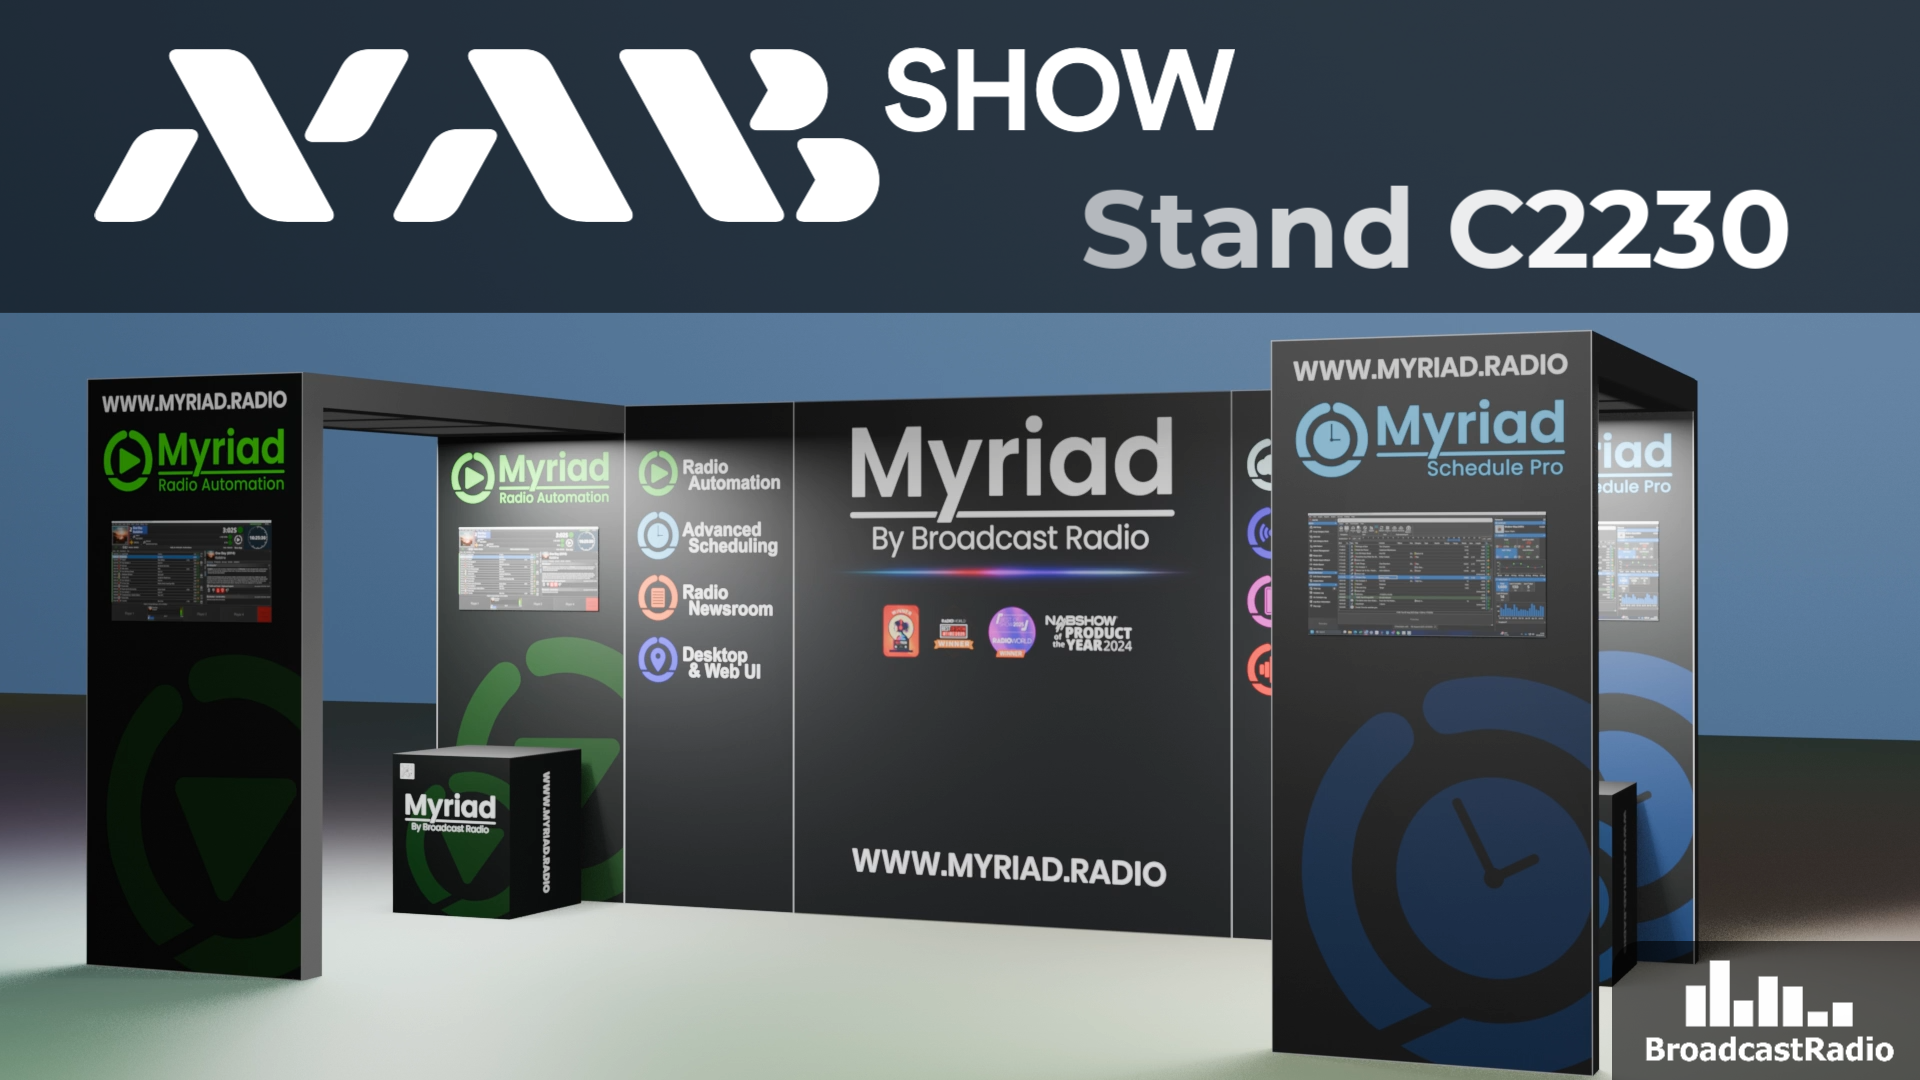
Join Broadcast Radio at NAB Show 2026! Explore innovative radio automation & cloud solutions. Visit us at Booth C2230.
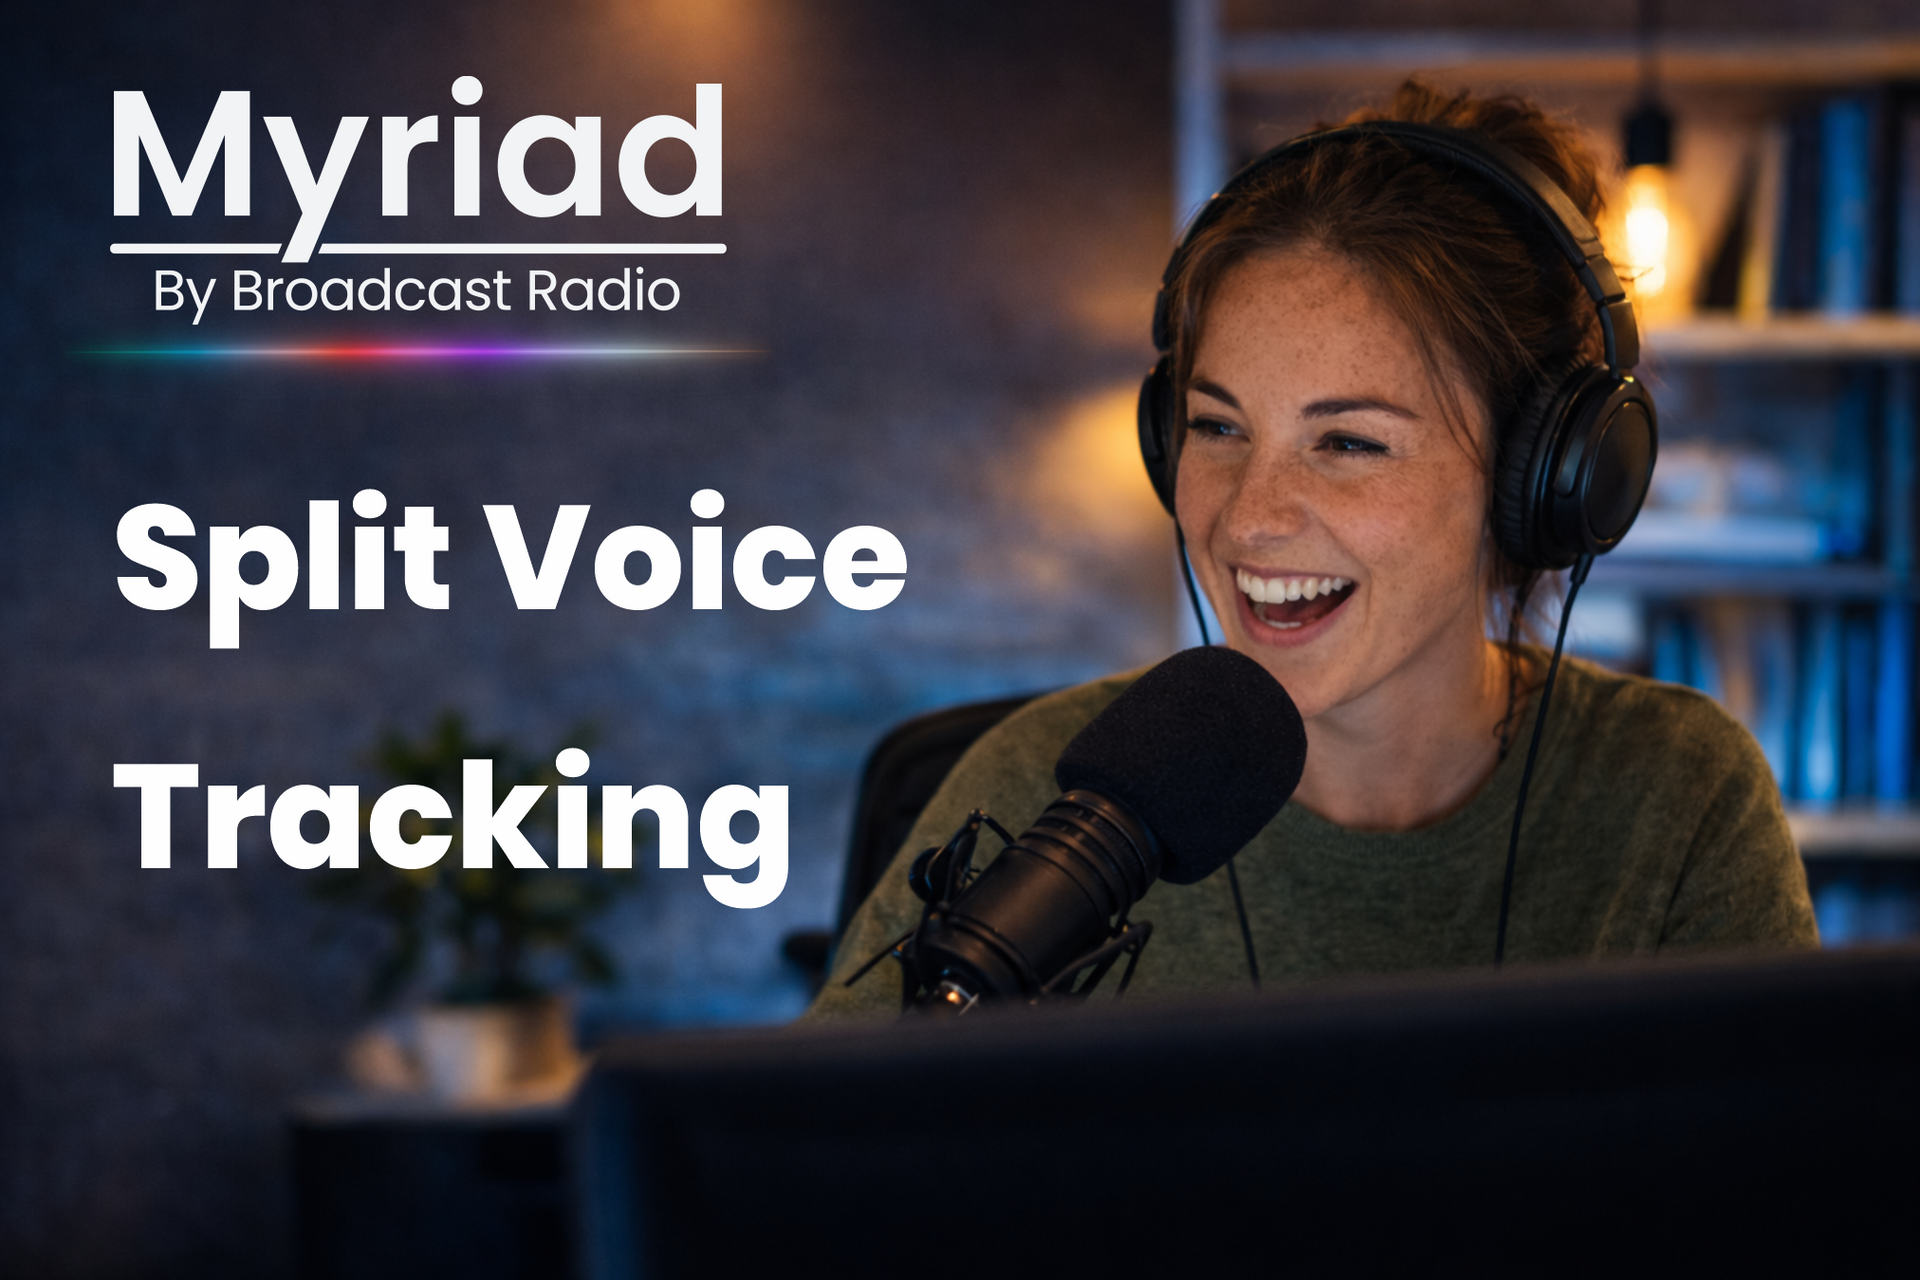
Learn how Split Voice Tracking enhances localized radio broadcasting. Improve community connections with personalized content today!
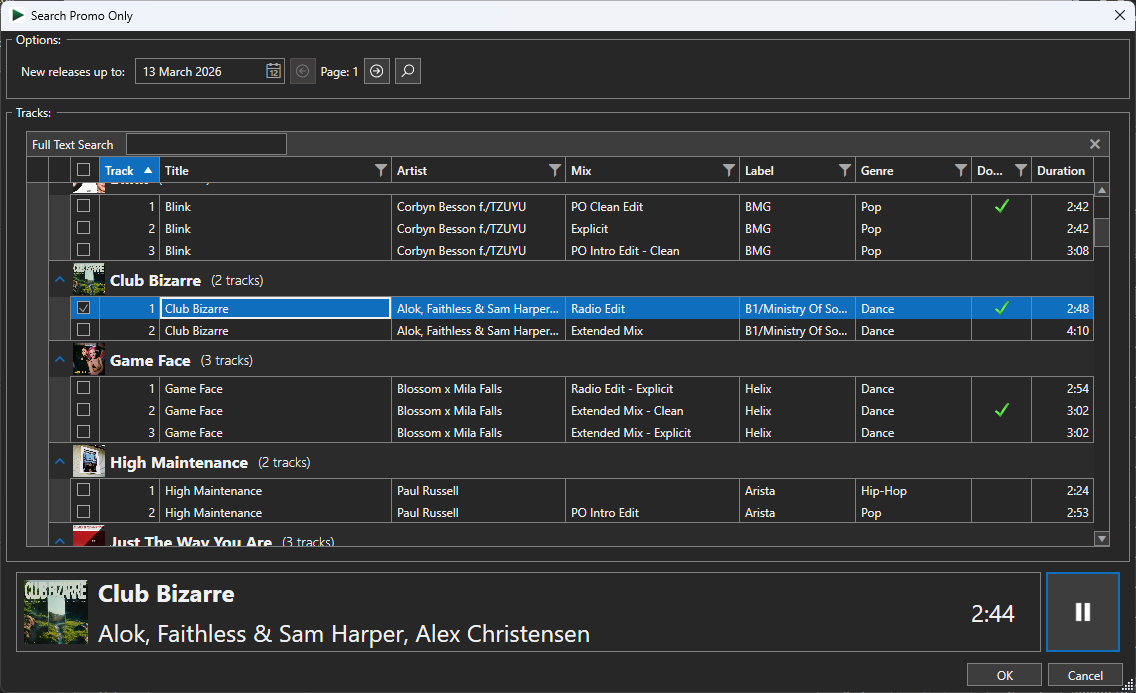
Streamline music management with Promo Only integration in Myriad. Enjoy automated processing & accurate metadata for professional broadcasting.
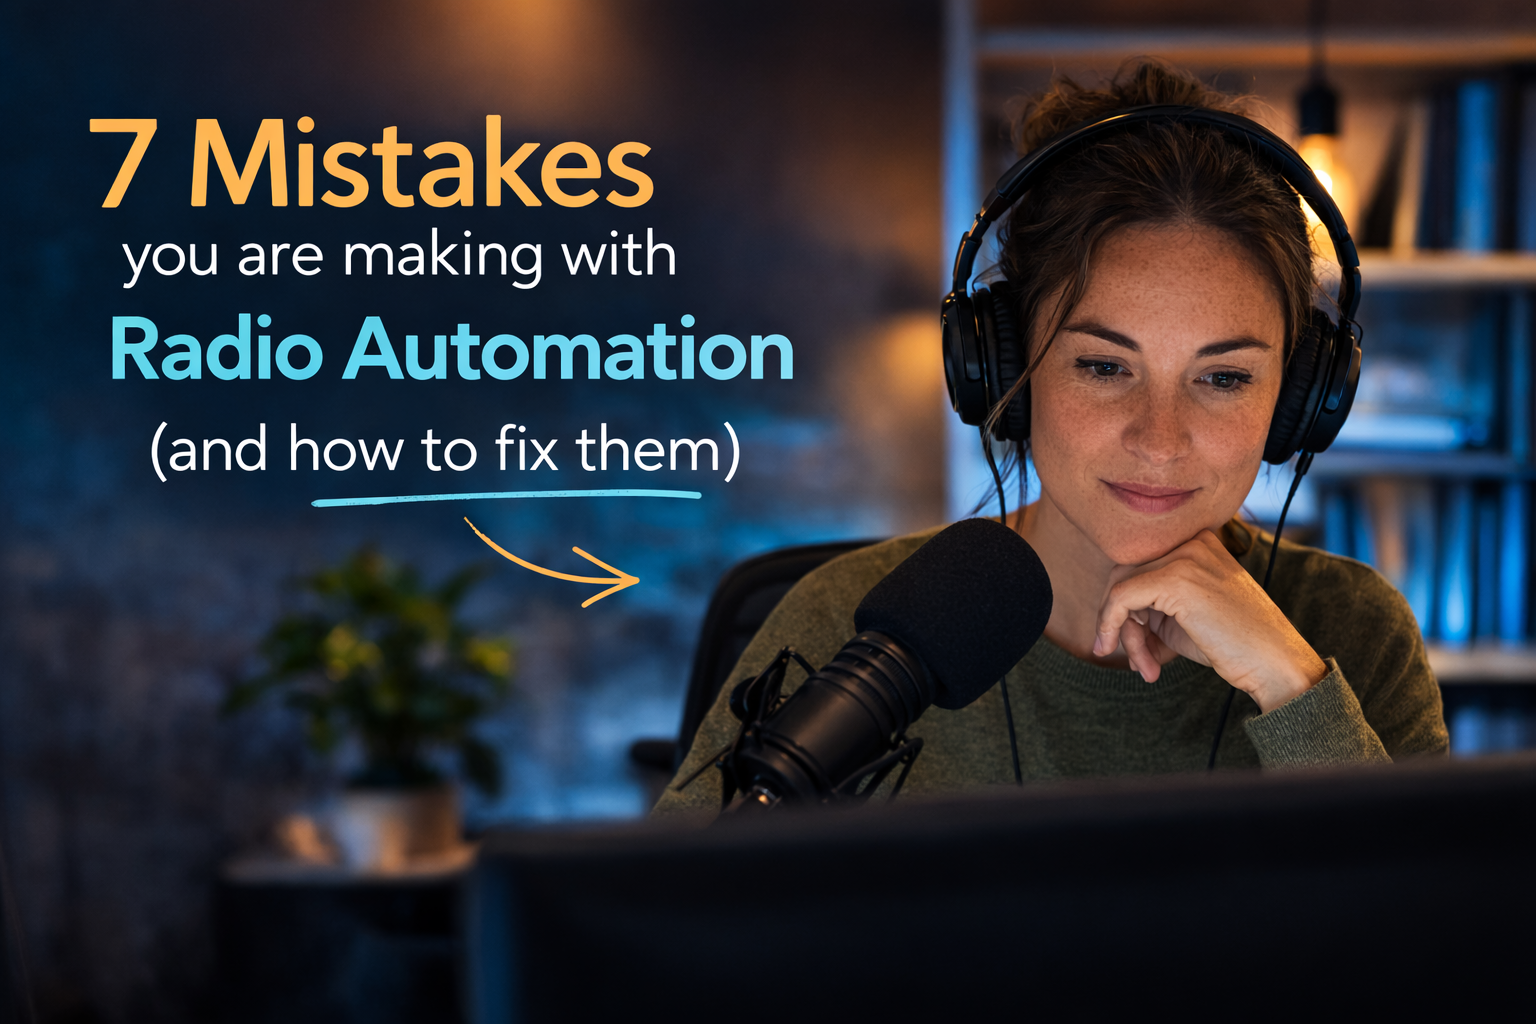
Avoid common mistakes in radio automation. Learn how Myriad can enhance your broadcasts today!
78% of broadcasters are shifting to cloud-native solutions. Learn how to modernize your station with our software & services.