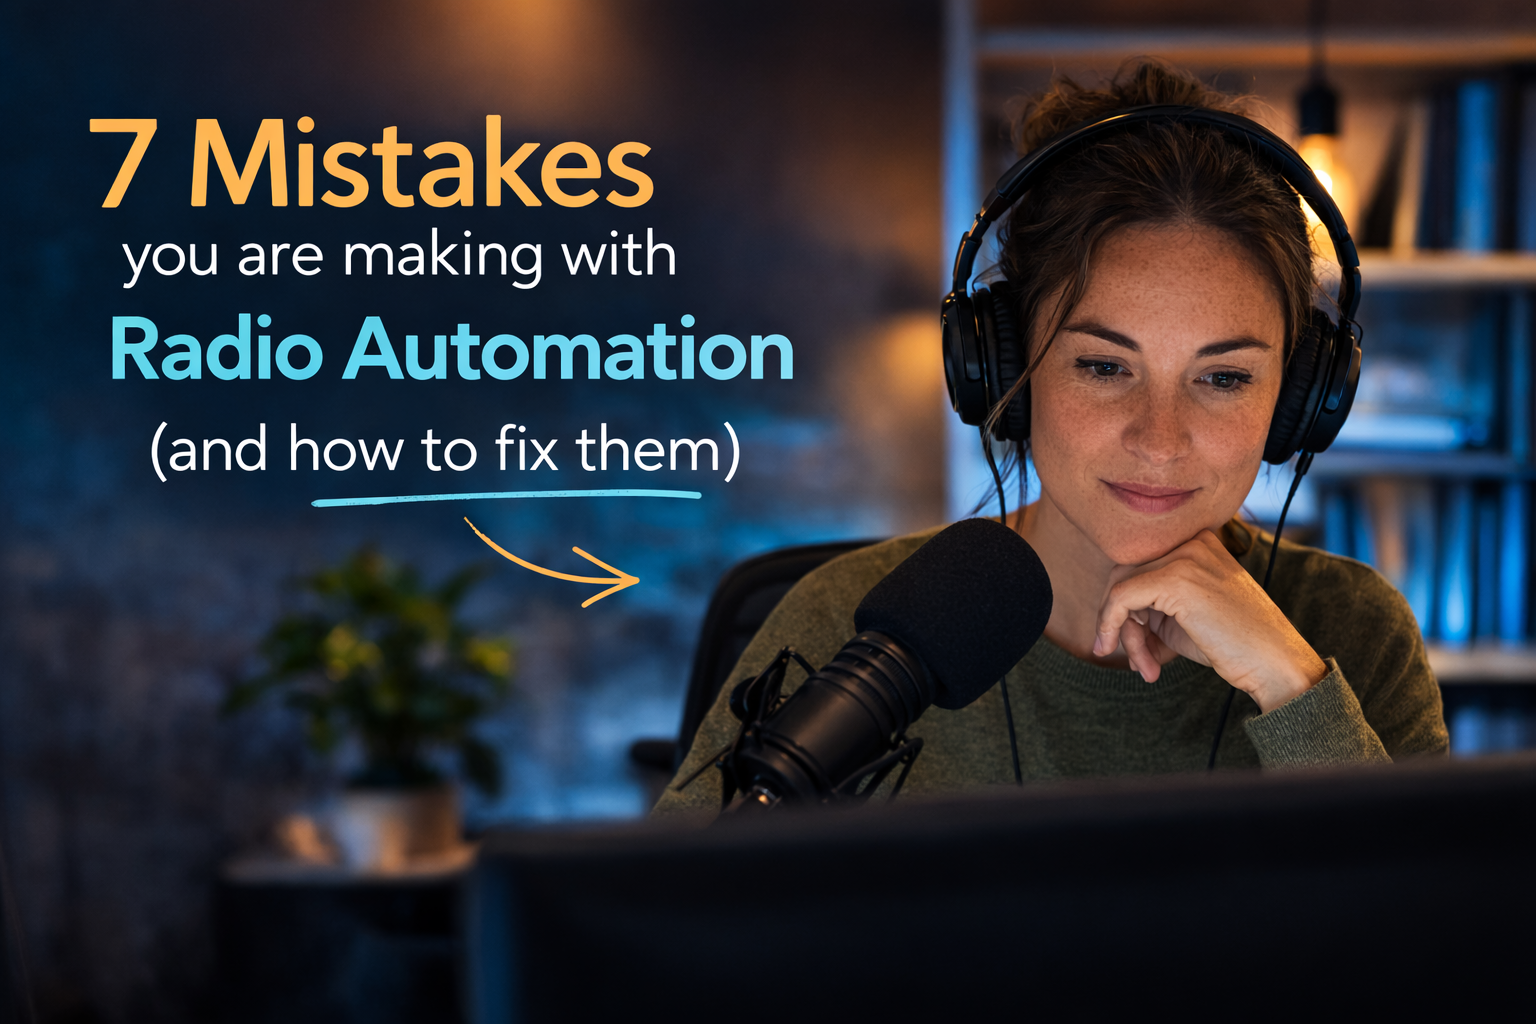
DIY Equipment Tricks for the Budget Home Studio
Introduction
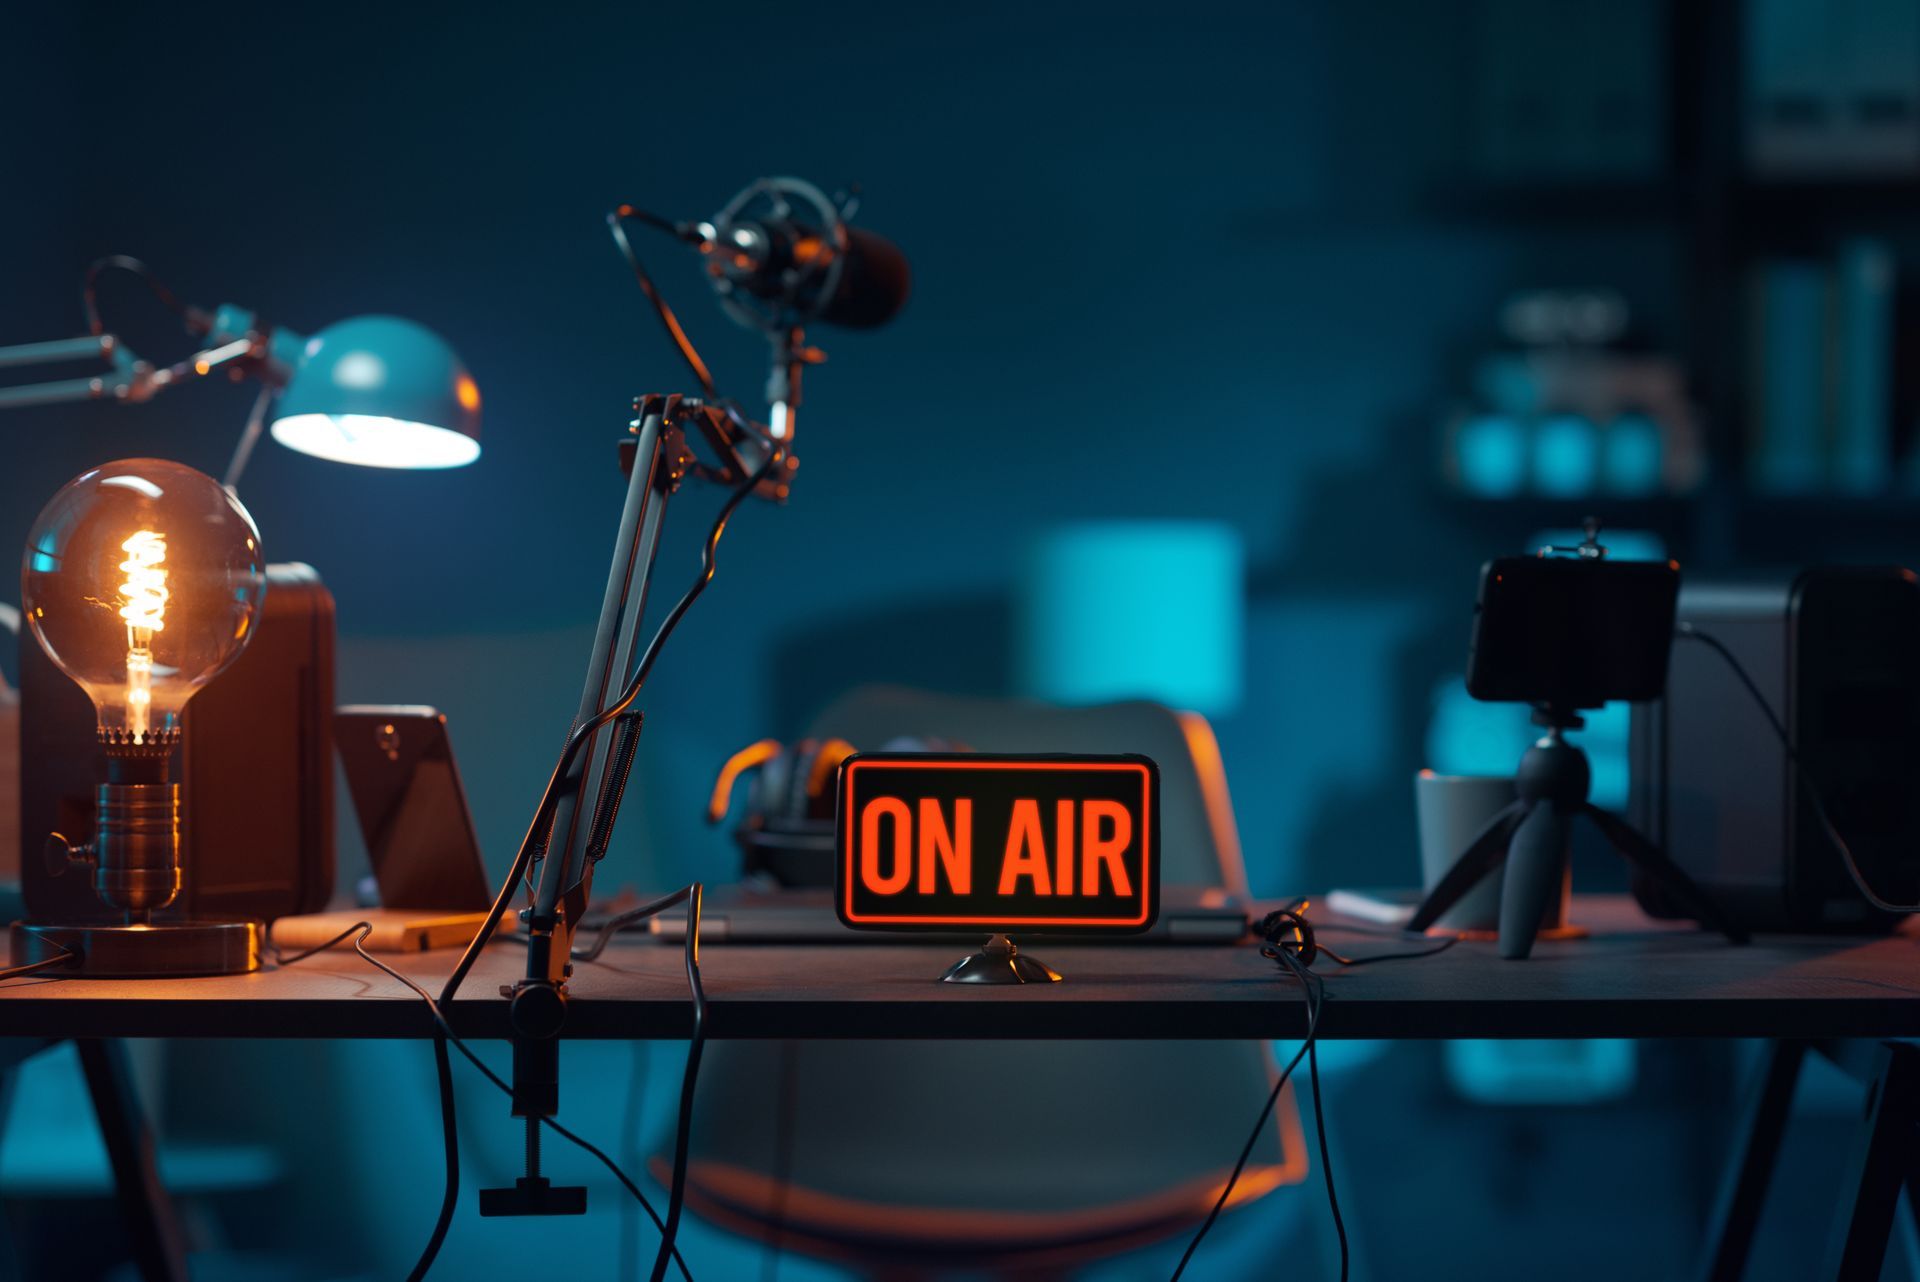
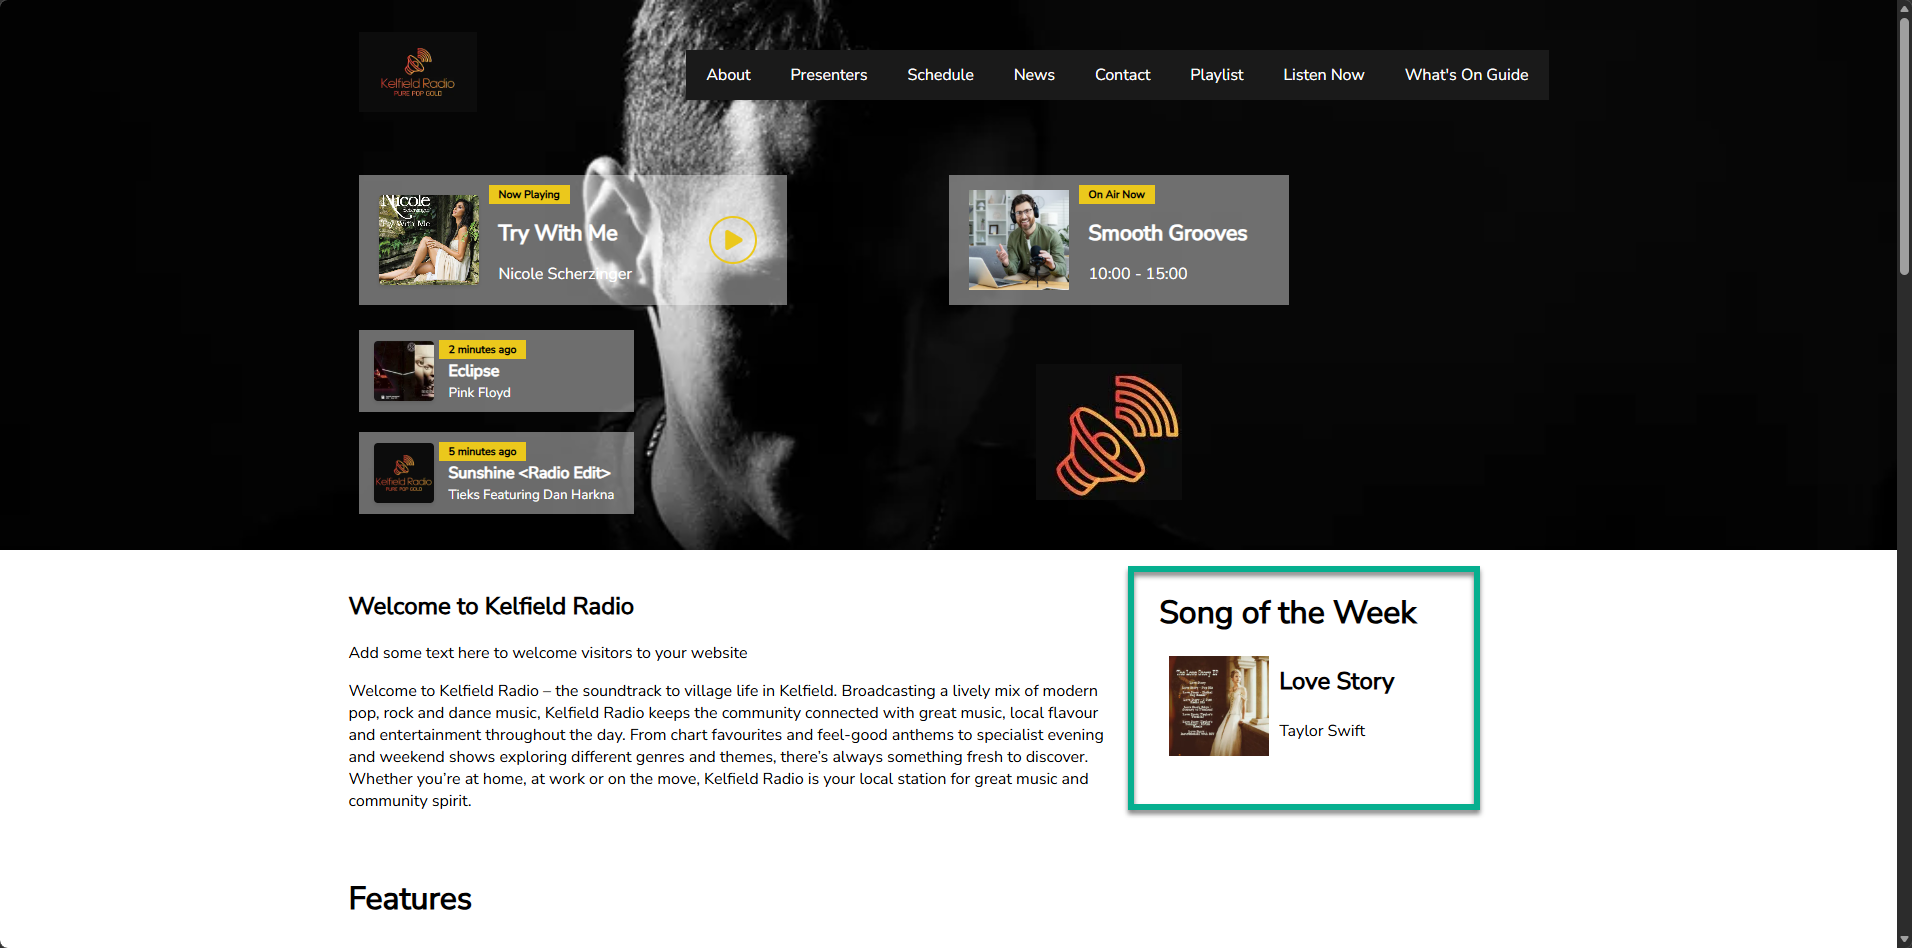
Whether it is recording podcast & full shows, voice tracking or presenting live remote shows via Myriad Anywhere Pro, more and more presenters are turning to small, low-cost home studios to safely produce content. Creating a home studio need not cost a lot of money and this week’s guest contributor, Blanca Jonathan, has some tips and tricks to help you get the most from your home studio setup.
Aside from making music, another great reason to set up your own studio is to create a podcast. In recent years, the popularity of podcasts has risen significantly. Alongside major celebrities, personalities are becoming known primarily for their podcast content. The average percentage of monthly podcast listeners aged 12-to-34 years old is now at 49%. According to Statista, podcast advertising spending in the UK in 2020 was £33.56 million, and is expected to more than double by 2024.
If you’re interested in jumping in yourself, you can easily set up your own studio at home even if you’re on a budget. As long as you’ve got your essentials, there are a few key DIY improvements you can make to make your set-up complete.
Use egg crates as acoustic foam substitutes
It should be noted that most sound professionals warn about the inefficiencies of egg cartons as decent sound absorbers. However, a study featured in the Building Acoustics journal shows that using cardboard egg crates filled with dry recycled materials balled up as filling provides enough absorption of lower to upper mid-range frequencies, so long as the dominant noise source is the human voice. This should be very usable for podcasts and radio shows, since instruments won’t get in the way.
Use vocal pedals instead of sound mixers
Sound mixing equipment can be quite expensive, so a good workaround is to simply make use of vocal pedals. If you already have a set number of effects or processing that you plan to use, you can just stick to a few pedals that you can use to enhance your recording. TC Helicon is noted for vocal pedals that are specifically used to enhance vocal sounds in different engineering aspects. So, in the context of podcasting, one could easily start with a VoiceTone Correct XT pedal and a Talkbox Synth for voice correction and pitch.
Make use of carpets and blankets as sound traps
Since the egg crates above only supply partial diffusion, you want to create more absorption that blocks outside noise and enhances your intended recorded vocals. While you shouldn’t go for a fully-carpeted room, some well-placed carpeting under your main sound stage and some thick blankets to cover any windows and door frames can help create some makeshift sound traps.
Use your tablet as an extended display
If you don’t want to shell out for another monitor for your DAW or you want to create your own MIDI set-up without actually having to buy a bunch of equipment, you can simply use a tablet and connect to your computer. You just need to get the right software and make sure both your computer and tablet are connected to the same network. Usually, if you connect an Android device, you can see an option displayed for Windows systems to make it MIDI. Some good budget-friendly options are the Alcatel Joy Tab 2 or the Lenovo Tab 4 8.
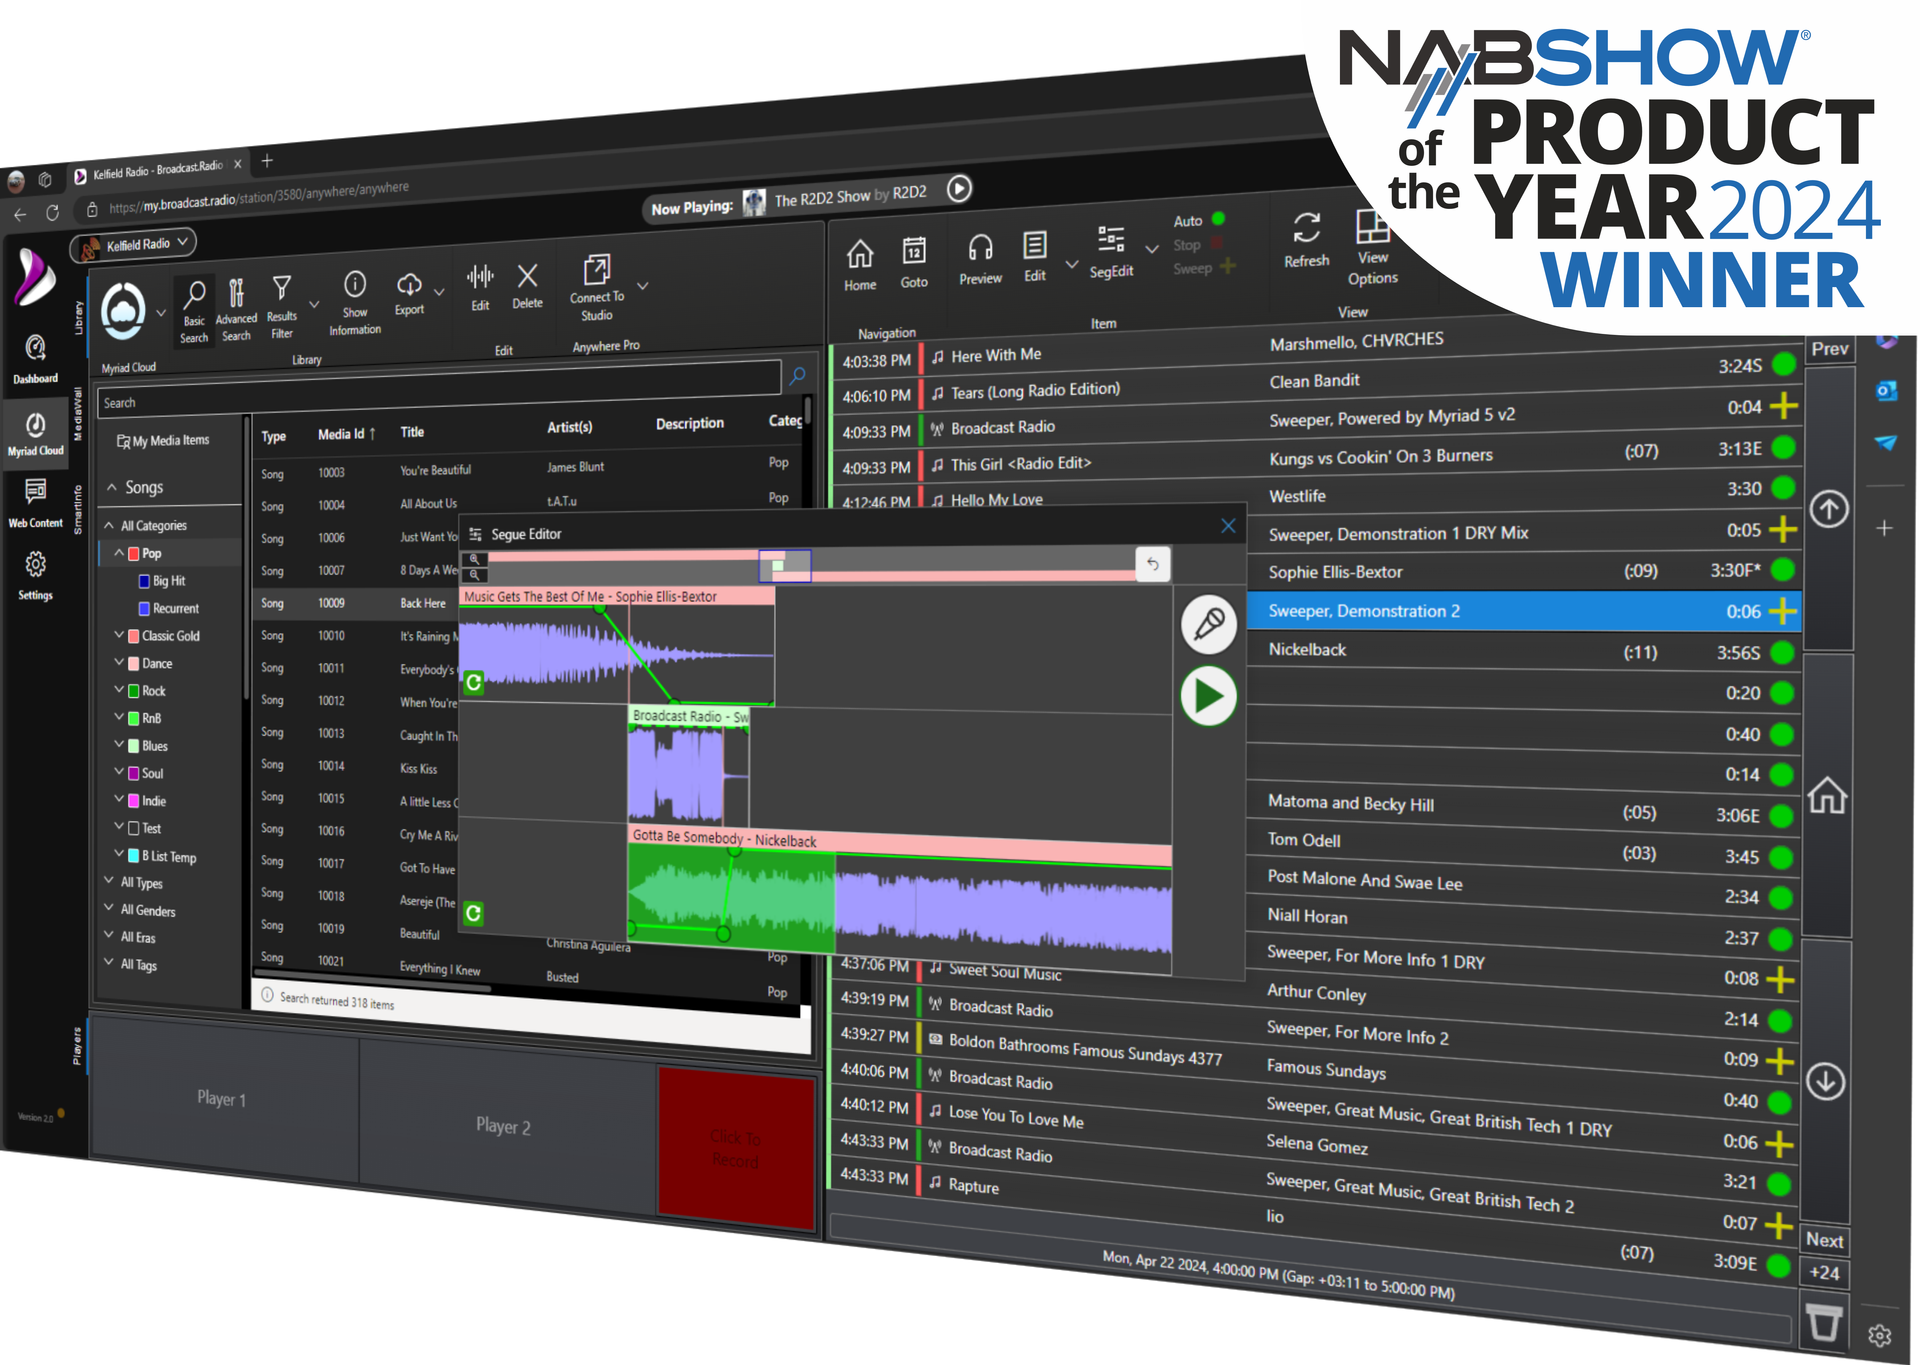
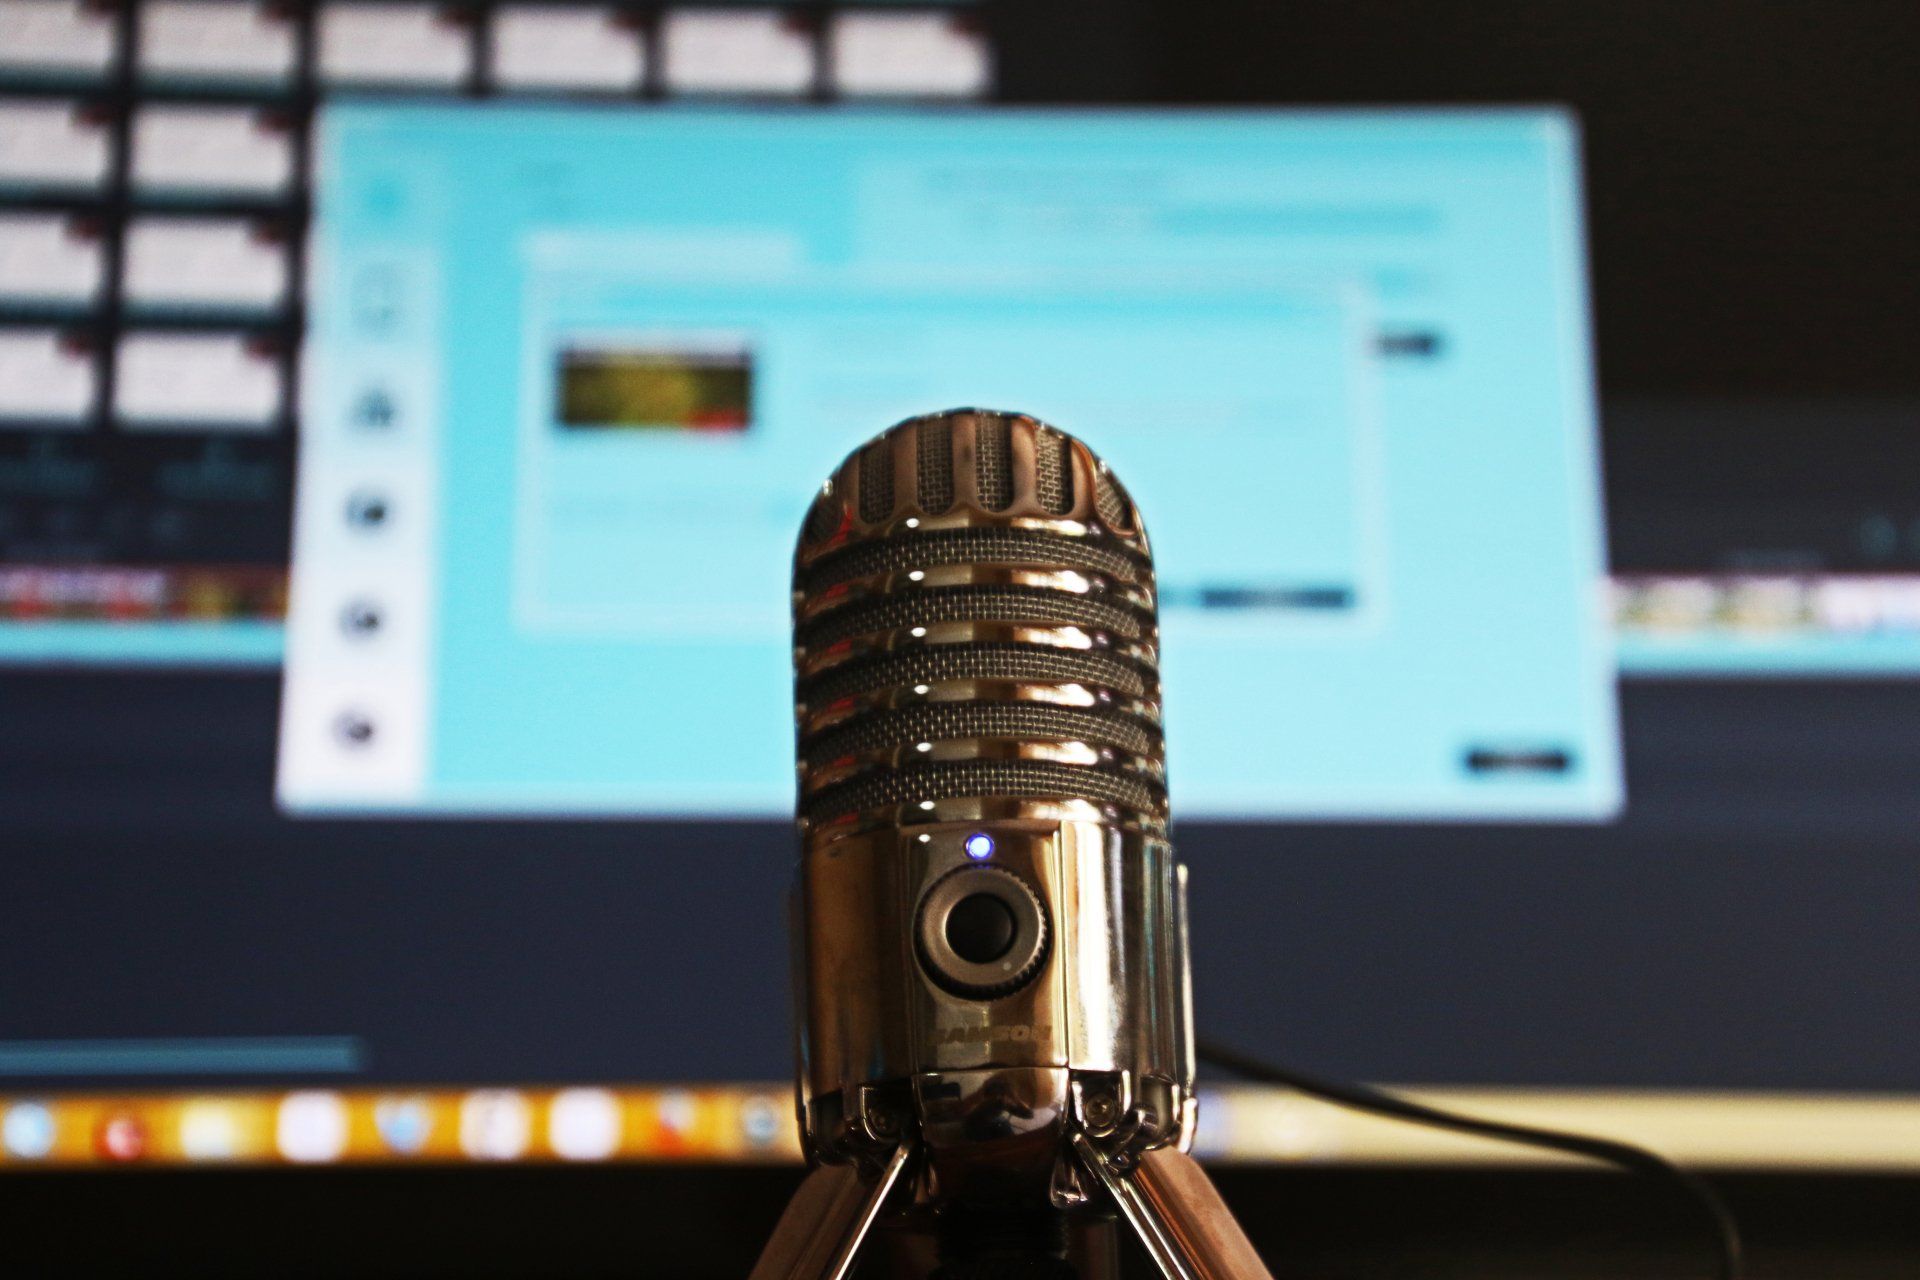
Combine software to create live broadcasts
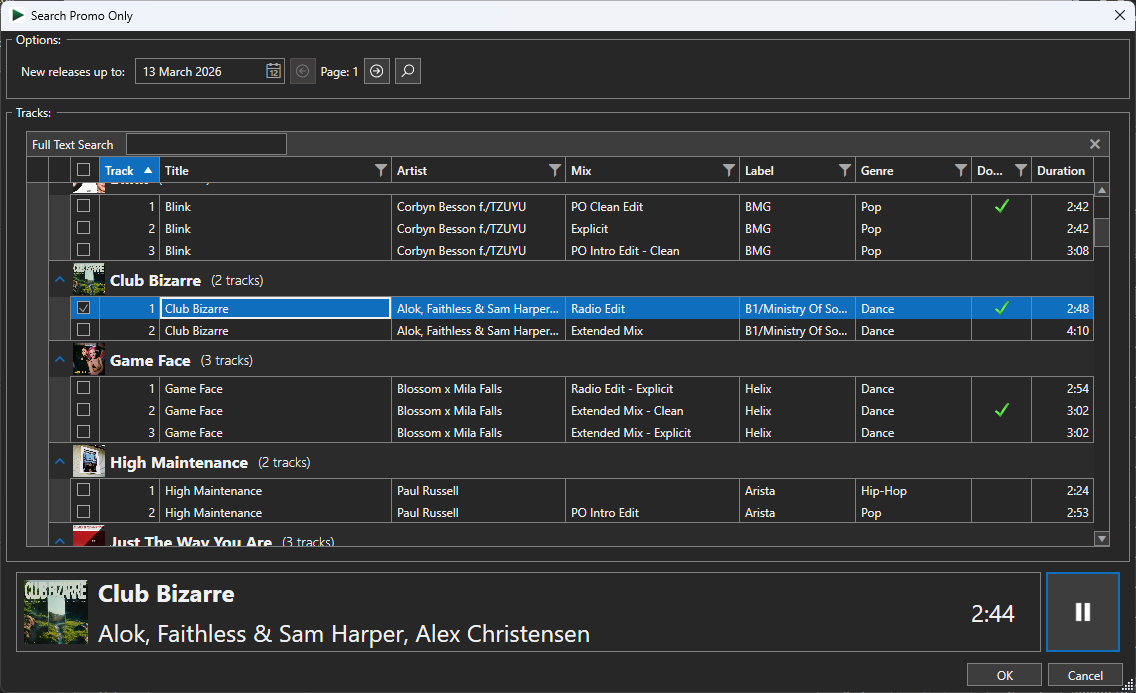
Though you could easily do recordings solo, there is also a lot of value in being able to do interviews and collaborations even if you aren’t recording in the same location. A good way to pull this off remotely is by making use of broadcasting software like Myriad 5 Playout. You can pair this up with other remote-control solutions available online like Teamviewer so you can record with your partner in real-time.
These DIY tricks are easy to apply and should do the job well. These ensure that you can have a reliable starting studio without sacrificing sound for savings, so you can slowly build up your equipment from there.
Post specially written for broadcastradio.com
by Blanca Jonathan